How to Take Epic Cycling Photos with Just Your Phone
12 simple phone photography tricks that turn your cycling holiday snaps into photos people actually want to look at. No expensive gear needed.

Lan
Published February 17, 2026
Edited February 18, 2026
8 min read
Quick links
Planning to cycle through some of the most beautiful scenery in Europe?
That’s definitely worth taking a bunch of photos.
But do yourself a favor:
Don't come home with 400 blurry photos of your handlebars.
The truth is, your phone can take absolutely stunning photos. You just need a handful of simple tricks — the same ones professional photographers use, minus the €2,000 camera and the oversized backpack.
None of this is complicated. None of it will slow you down. And by the end of your trip, you'll have photos that make people say,
"Wait, you took that on your phone?"
Let's make it happen.
1. Clean Your Lens
Your phone lives in a jersey pocket, a handlebar bag, or your sweaty hand. The lens is covered in fingerprints, sunscreen, and road dust. It takes two seconds to wipe it on your shirt — and it's the single fastest way to make every photo sharper and clearer.
Do it every time. Before every shot. It sounds ridiculous. It works.

2. Turn On the Grid
Go into your phone's camera settings and switch on the grid overlay. This puts a 3x3 grid on your screen — two horizontal lines, two vertical lines, nine squares.
This is the "rule of thirds" — the most useful composition trick in photography.
Instead of putting your subject dead centre (which is what everyone does instinctively), place it where the lines cross. Put the horizon on one of the horizontal lines, not in the middle.
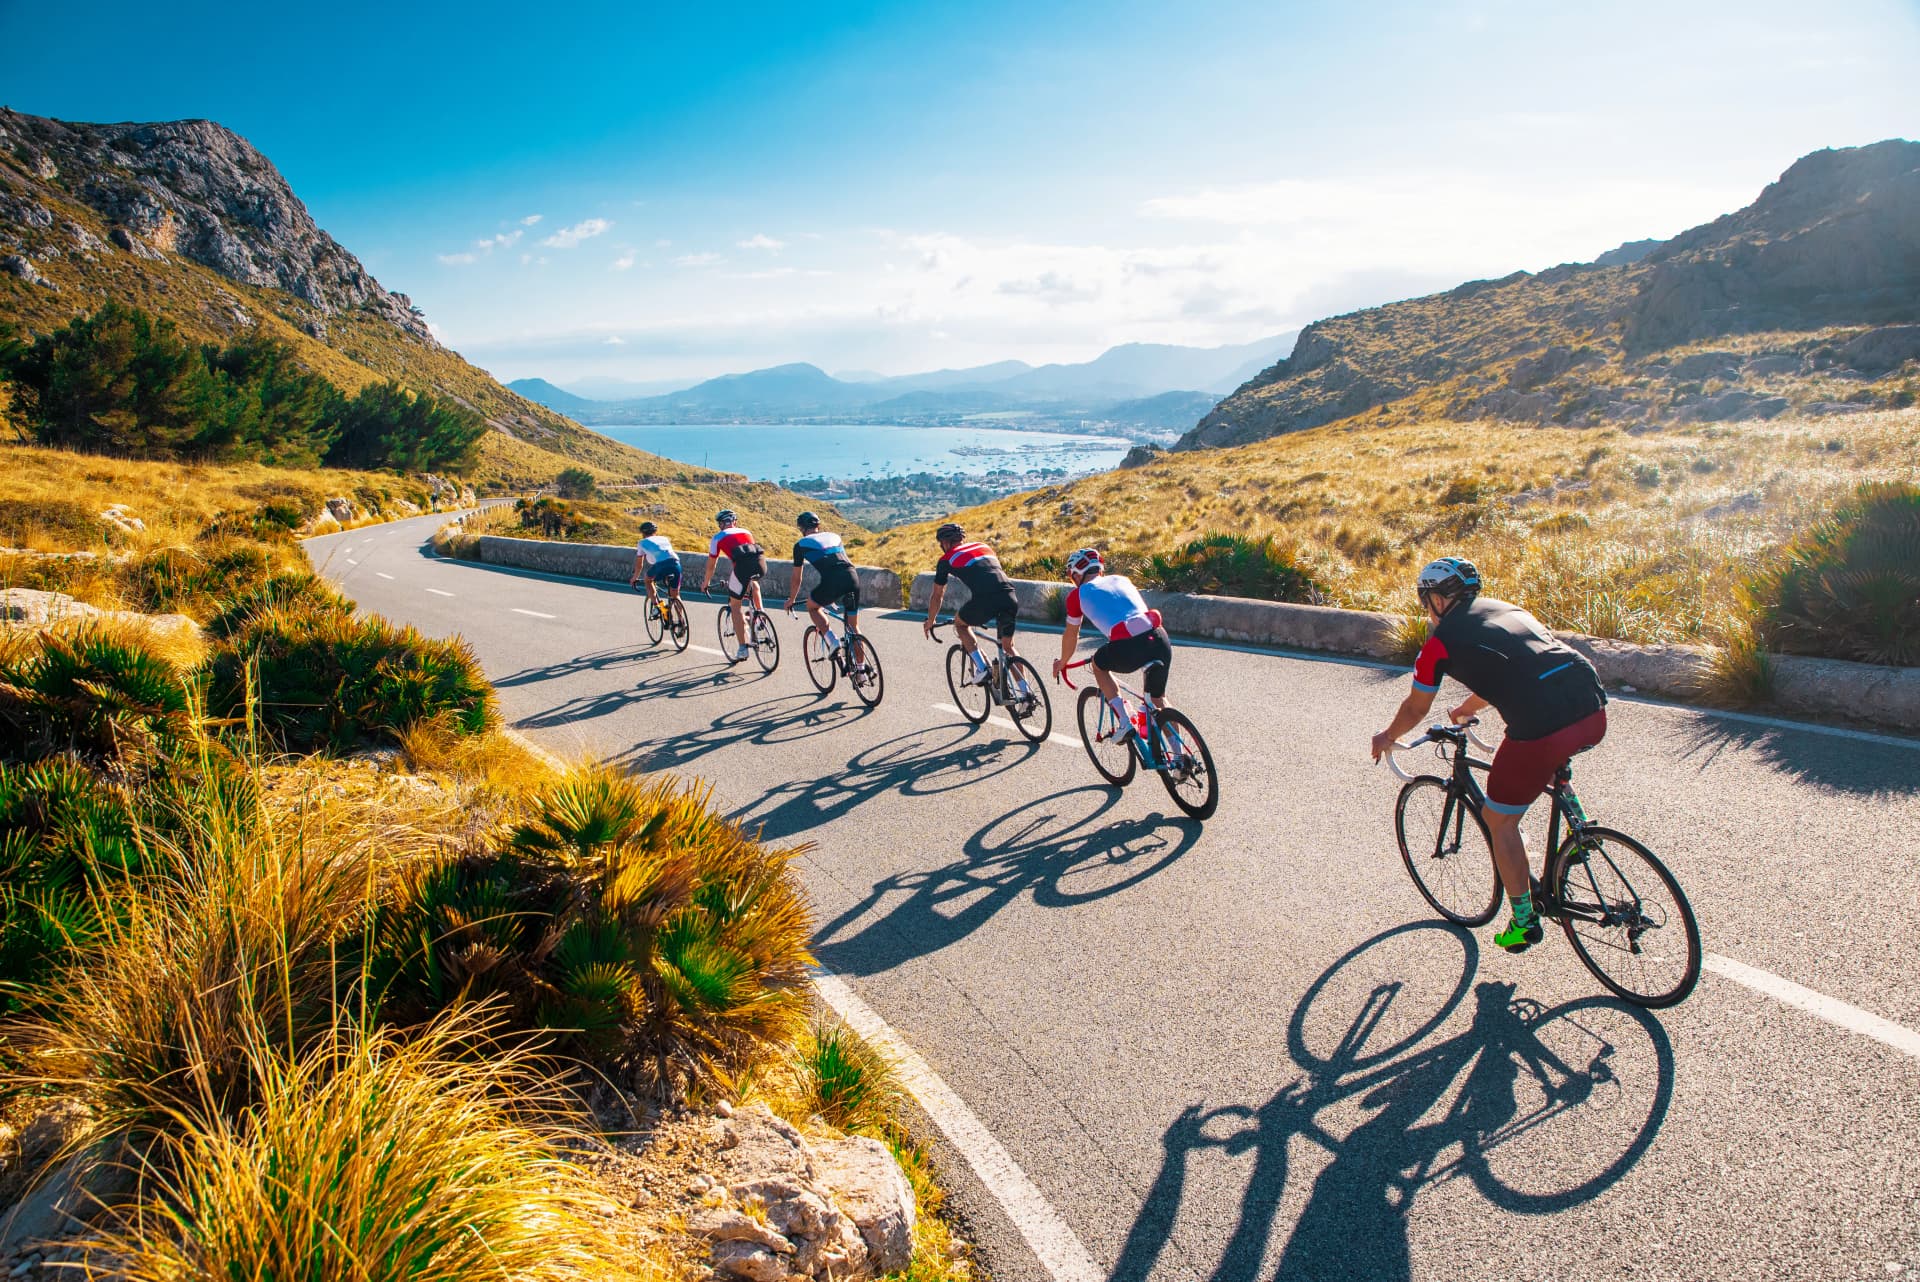
Let’s say you’re cycling along the Danube — place the river on the lower third line, the Austrian hills on the upper third line, and the bike path pulling you into the scene.
.png&w=1920&q=85)
3. Stop Trying to Fit Everything In
A road, a mountain, a village, your bike, your riding partner, and a cute dog — all in one shot. We've all done it. The result is a photo of everything and nothing.
Great photos have one clear subject. Decide what the photo is about before you take it. Is it the landscape? The winding road? Your friend climbing a hill? The village church in the distance? Choose one and let everything else be background.
Riding In Tuscany? Don't try to squeeze the cypress trees, the farmhouse, the vineyard, and the rolling hills into one frame. Pick one — say, a single line of cypress trees — and let it breathe.
Well, isn’t this pretty:
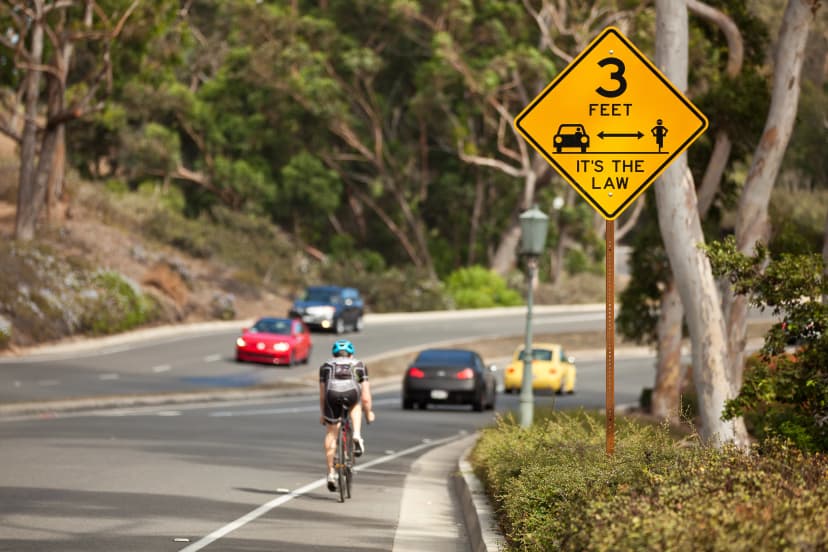
4. Use the Road as Your Secret Weapon
Cycling gives you something most tourists don't have: beautiful roads. And roads make incredible photos.
In photography, these are called "leading lines" — they pull the viewer's eye into the image and create depth. A road curving through a valley, a bike path disappearing into a forest, a bridge stretching toward a town — you're literally riding on them all day.
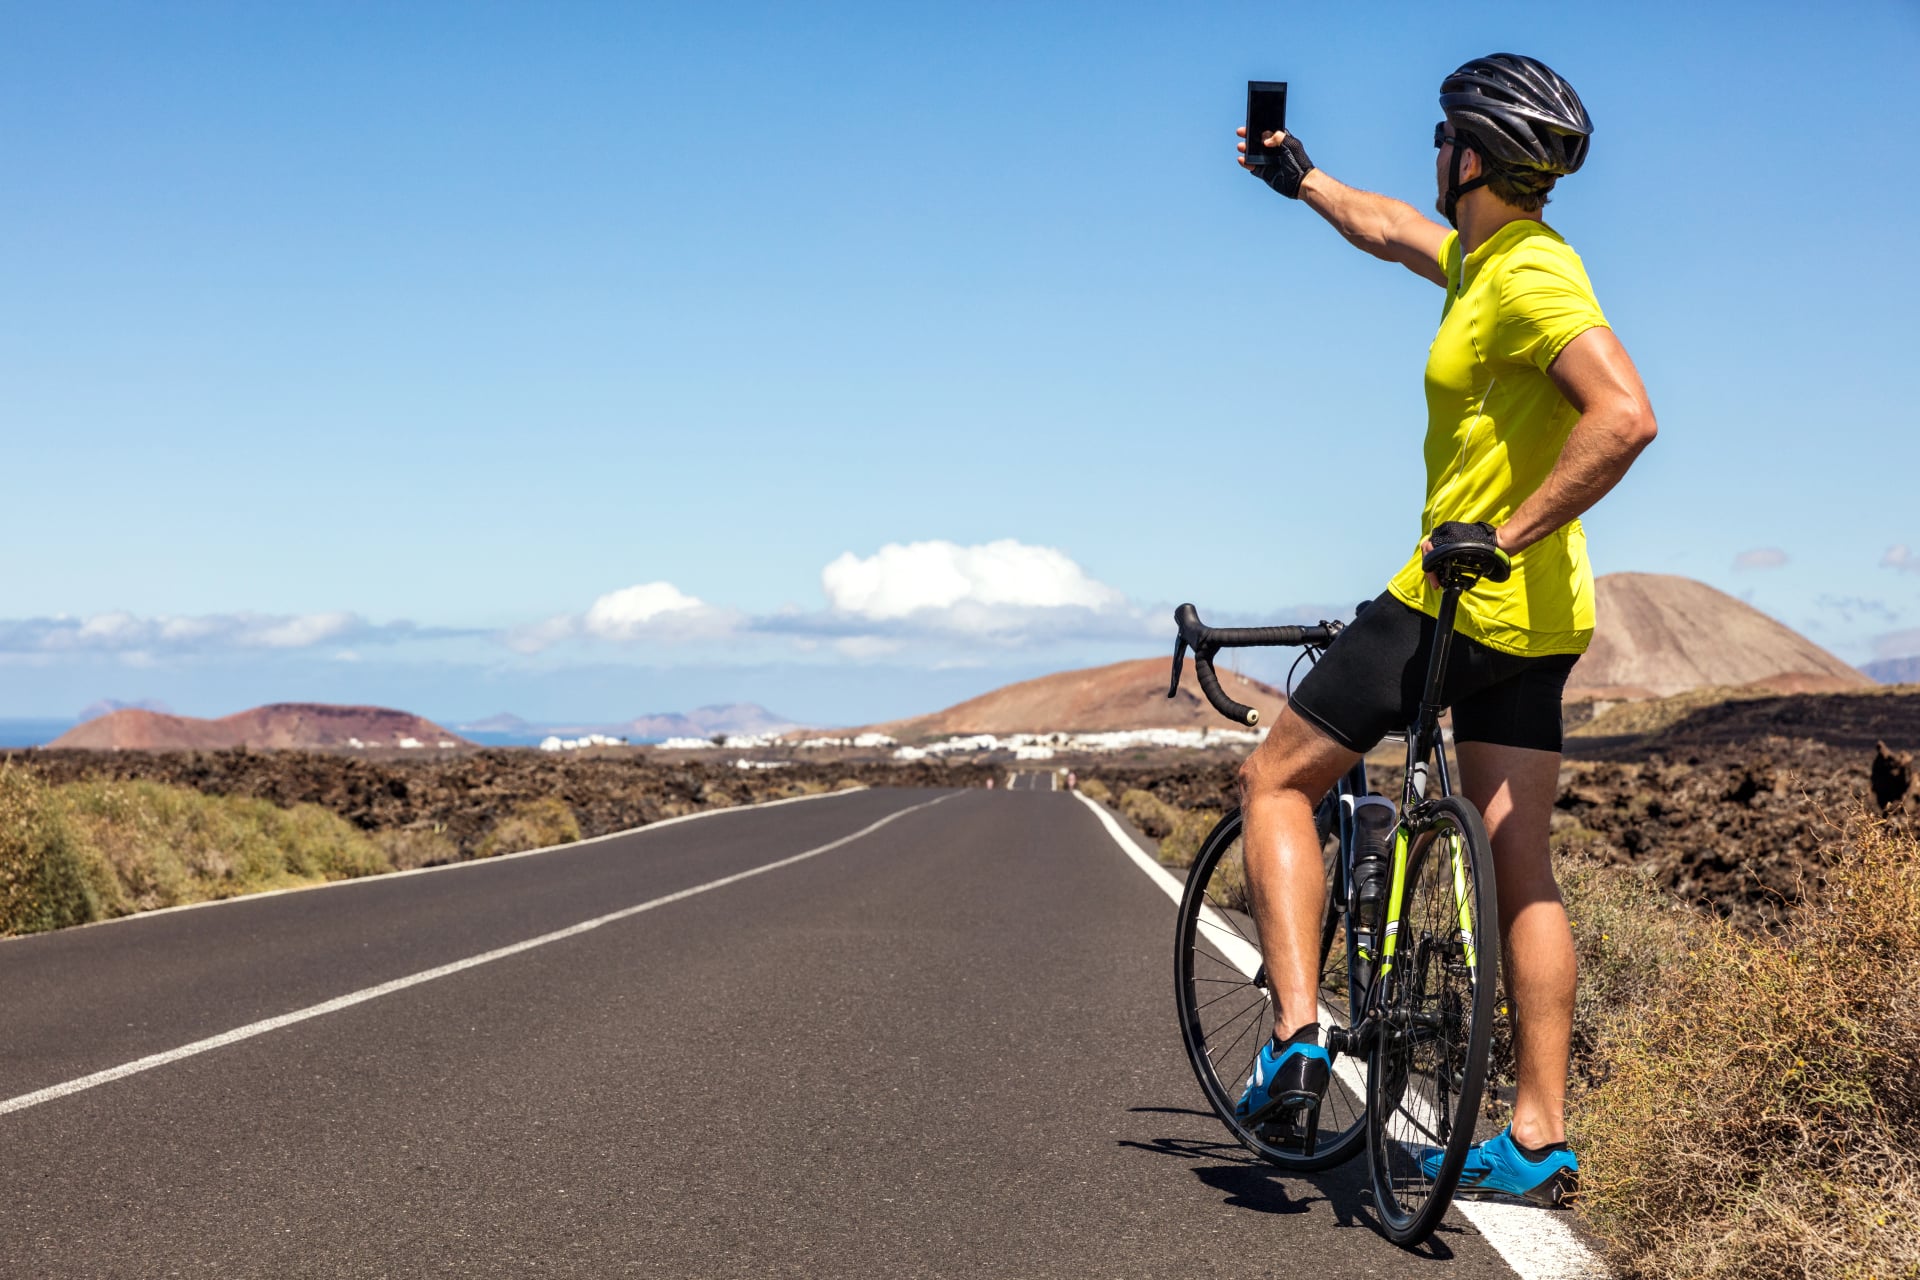
Just look at this road from a cycling holiday in Lanzarote, Spain!
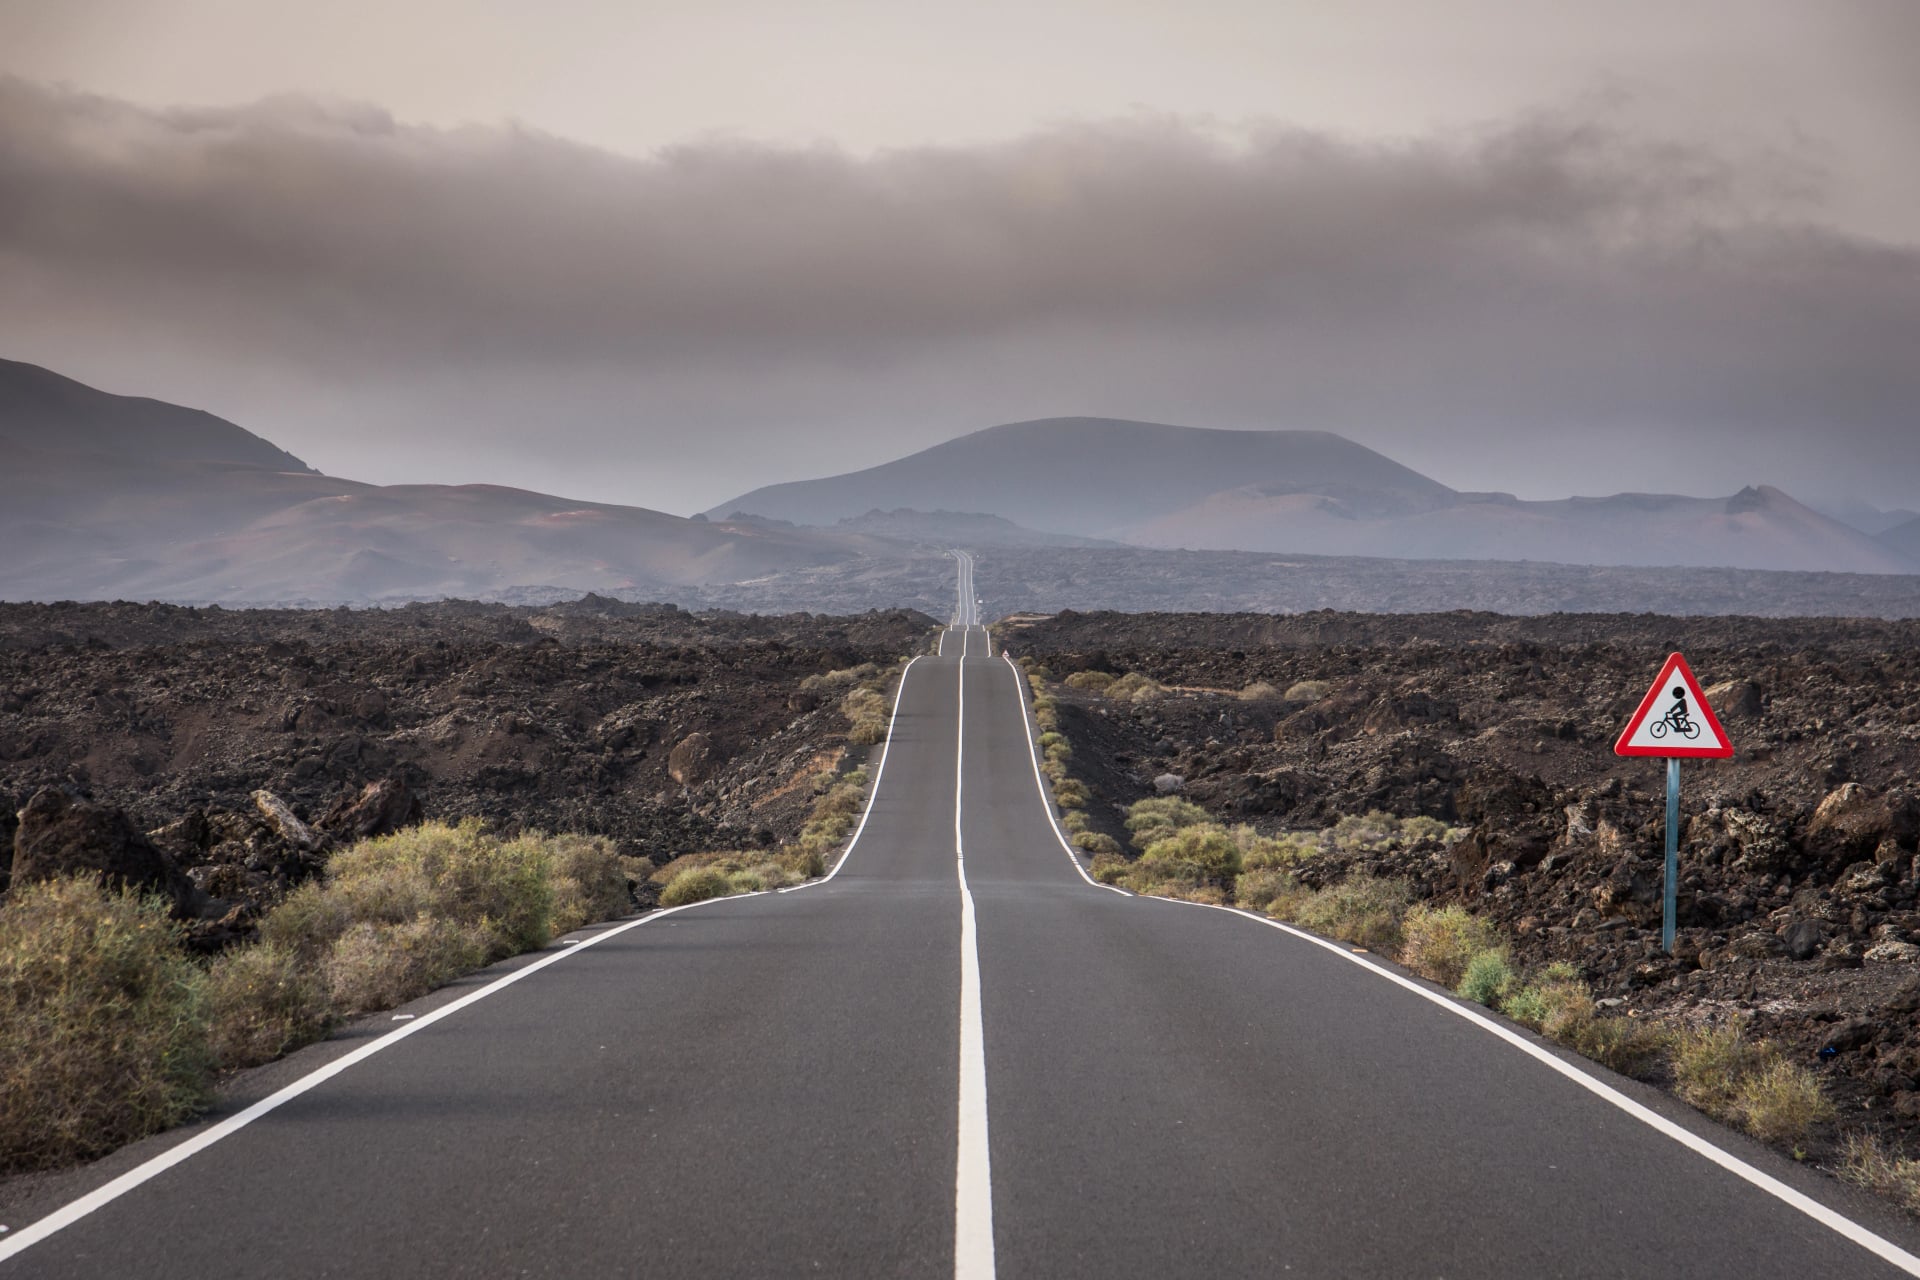
Roads that curve are more interesting than roads that go straight. If you see a bend with a nice backdrop, that's your shot.
Try it: The switchbacks climbing through the Dolomites. The winding coastal roads of Croatia. A tree-lined avenue in the Loire Valley. A cobblestone lane in a Belgian village. You won't be short of leading lines on a European cycling tour.
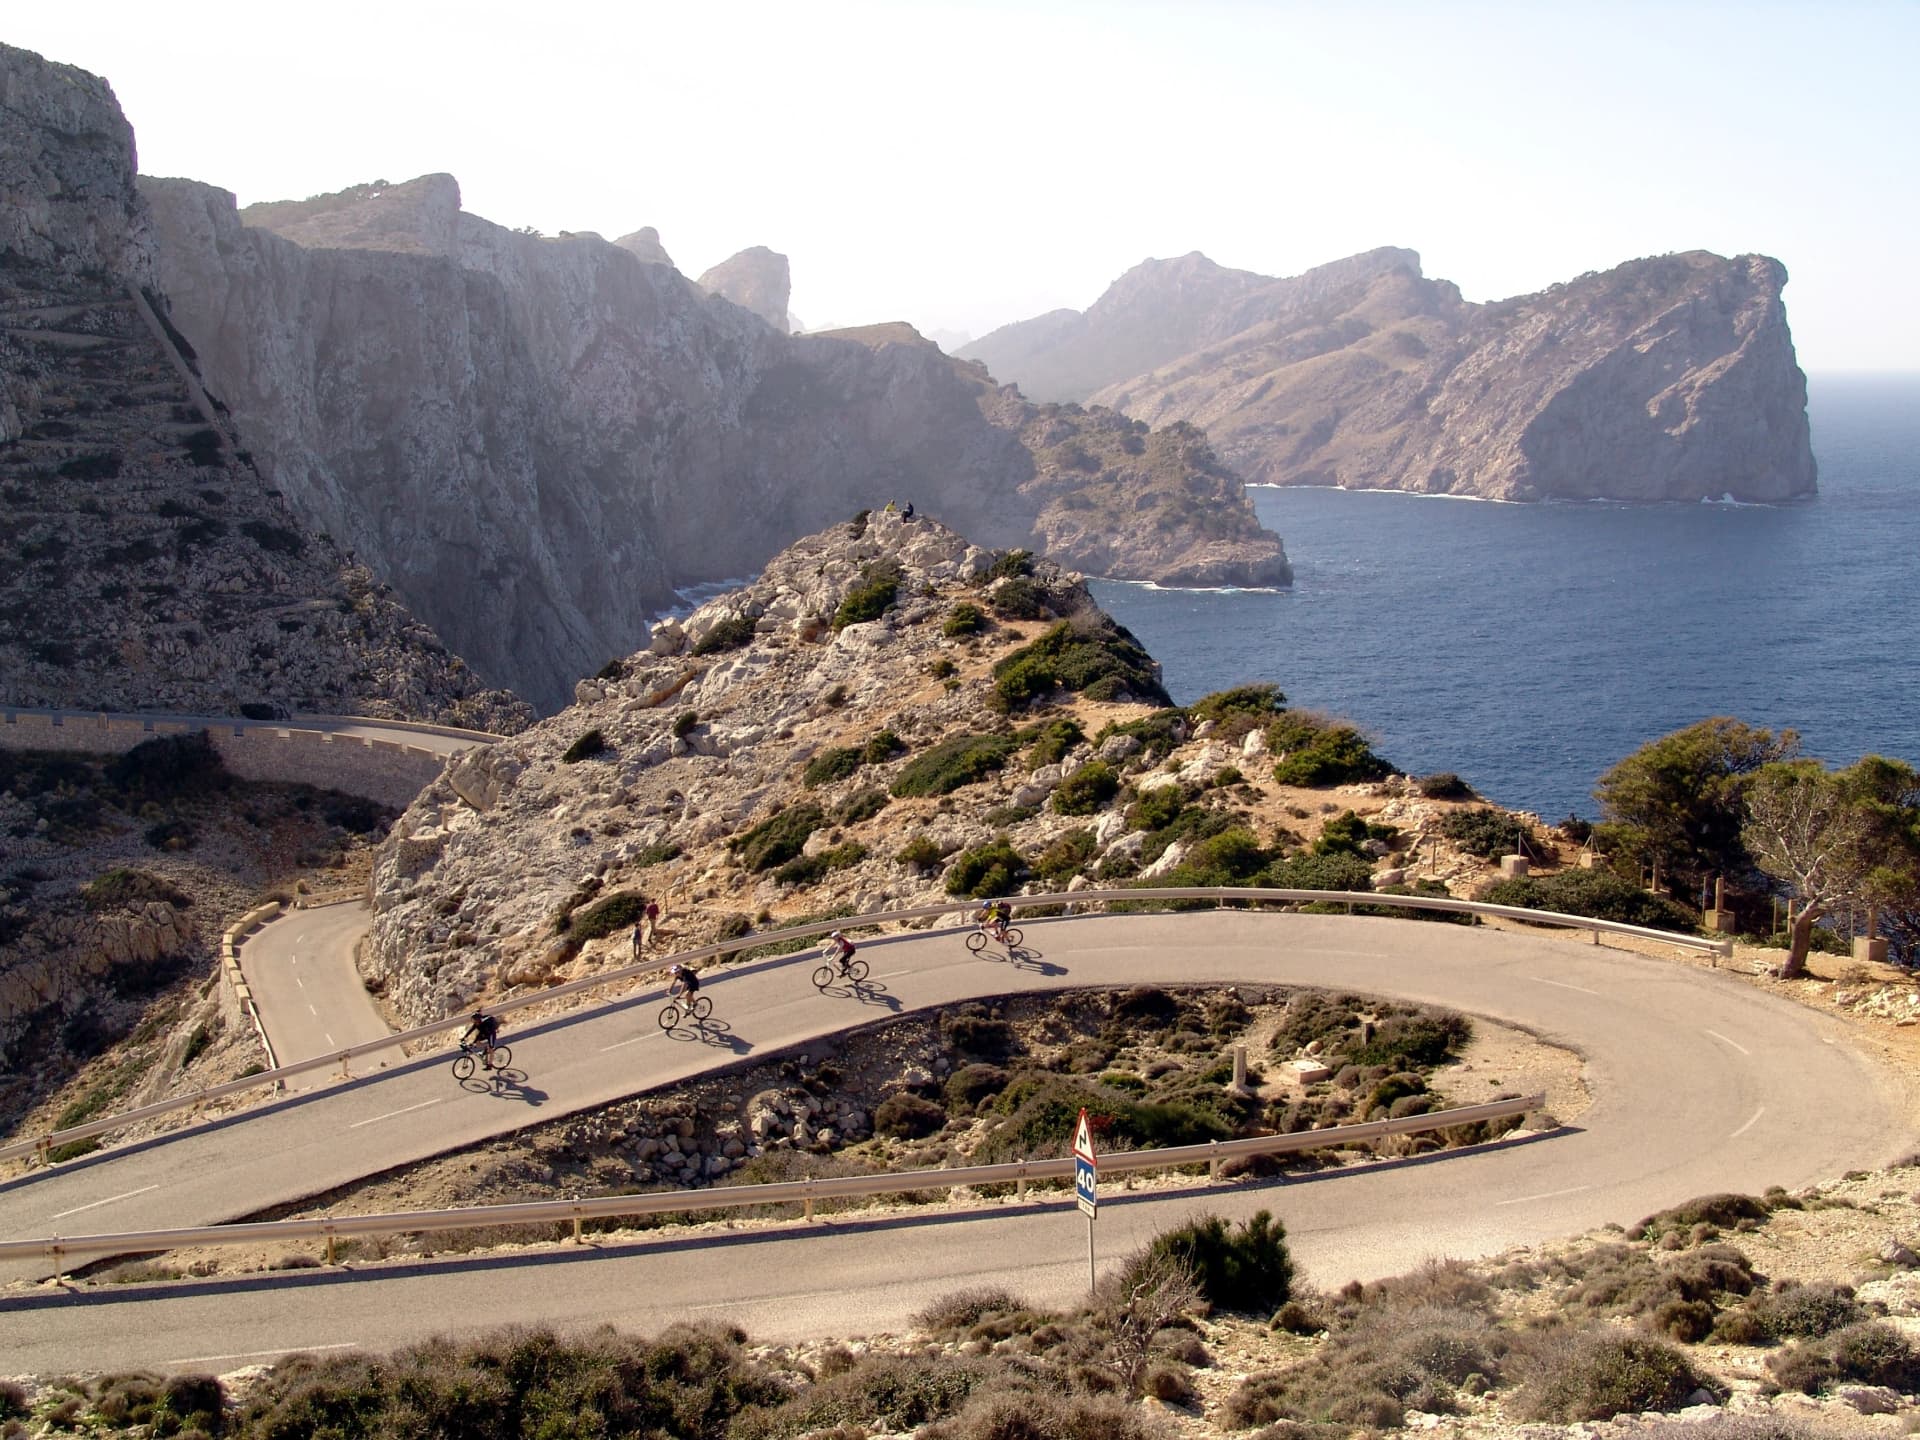
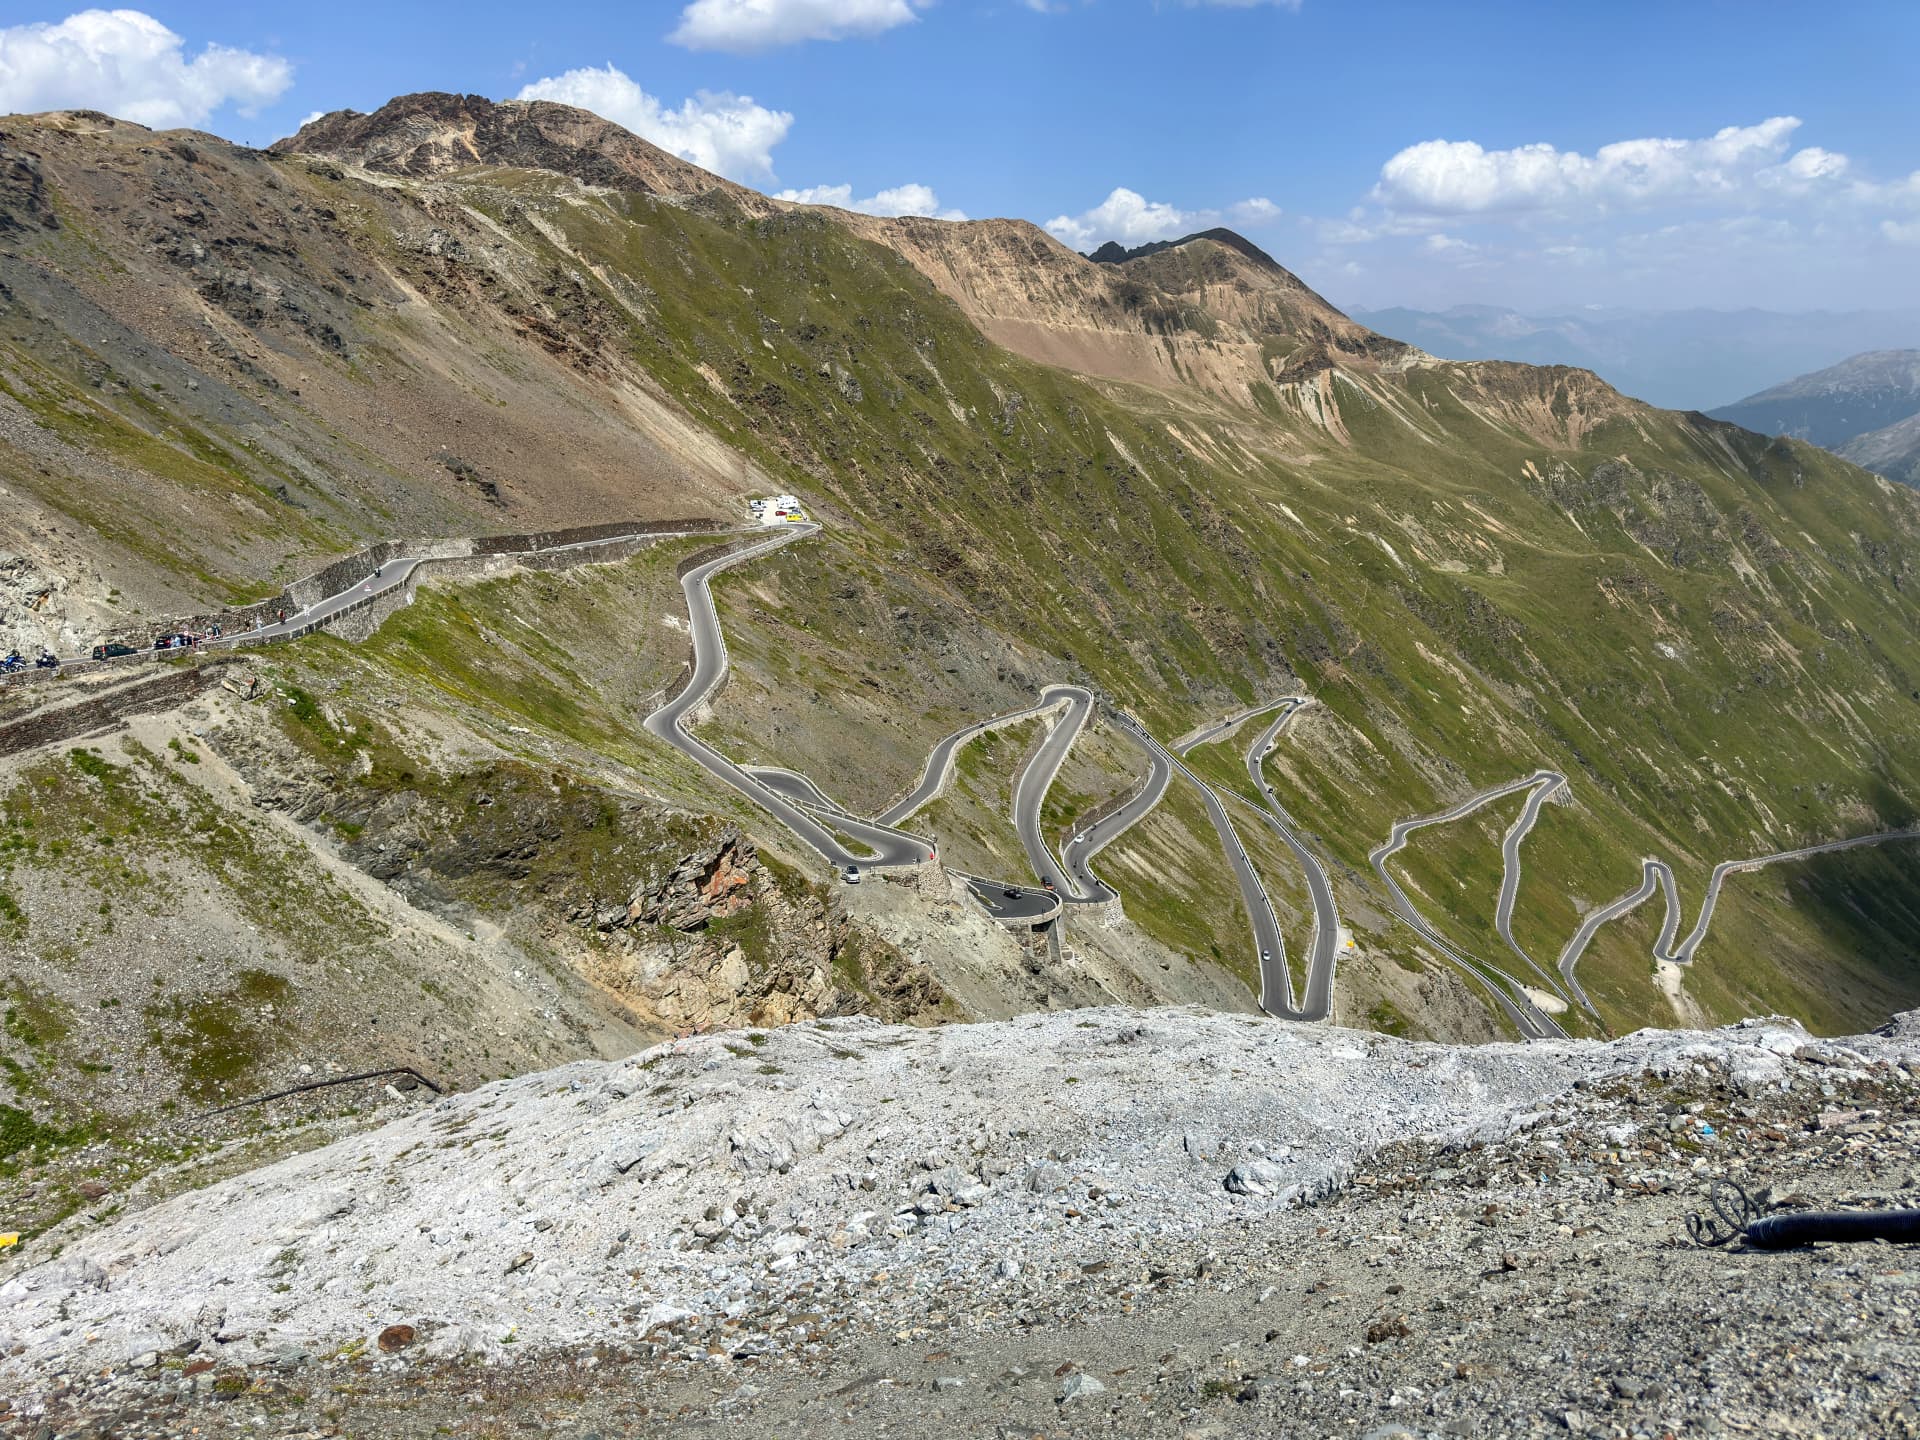

We dare you to beat this cover photo:
5. Get the Light Right (or Just Cheat with Timing)
You don't need a degree in photography. You just need to know two things:
The best light is early morning and late afternoon. Photographers call this the "golden hour" — the light is warm, soft, and makes everything look cinematic. Harsh midday sun flattens everything and creates ugly shadows.
Don't shoot into the sun. If the sun is in front of you, turn around. The best photo is usually behind you. If you have to shoot toward the sun, tap your screen on the brightest part of the sky to adjust the exposure.
Try it: Golden hour in Provence, with lavender fields glowing purple and orange. Early morning mist over the Dutch polders while in Holland. Late afternoon light hits the white villages of Puglia. The light does most of the work for you.

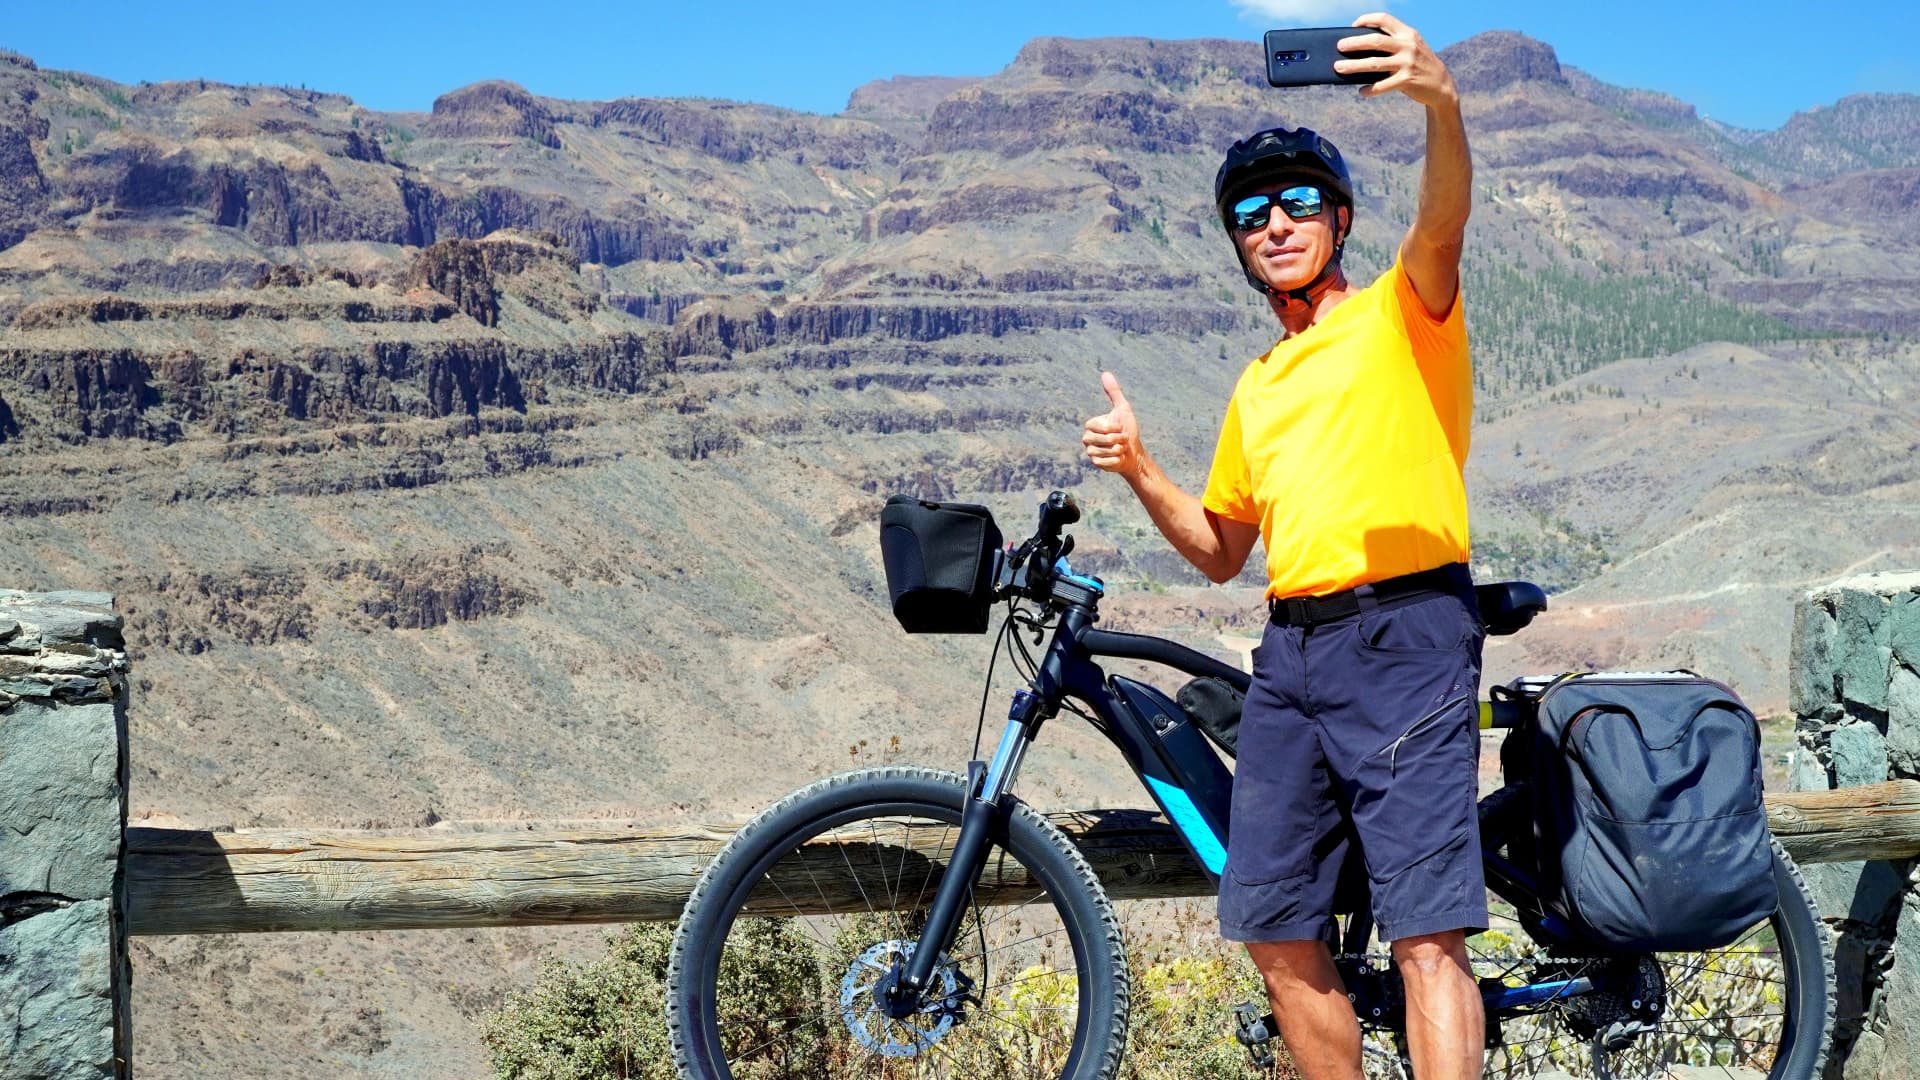
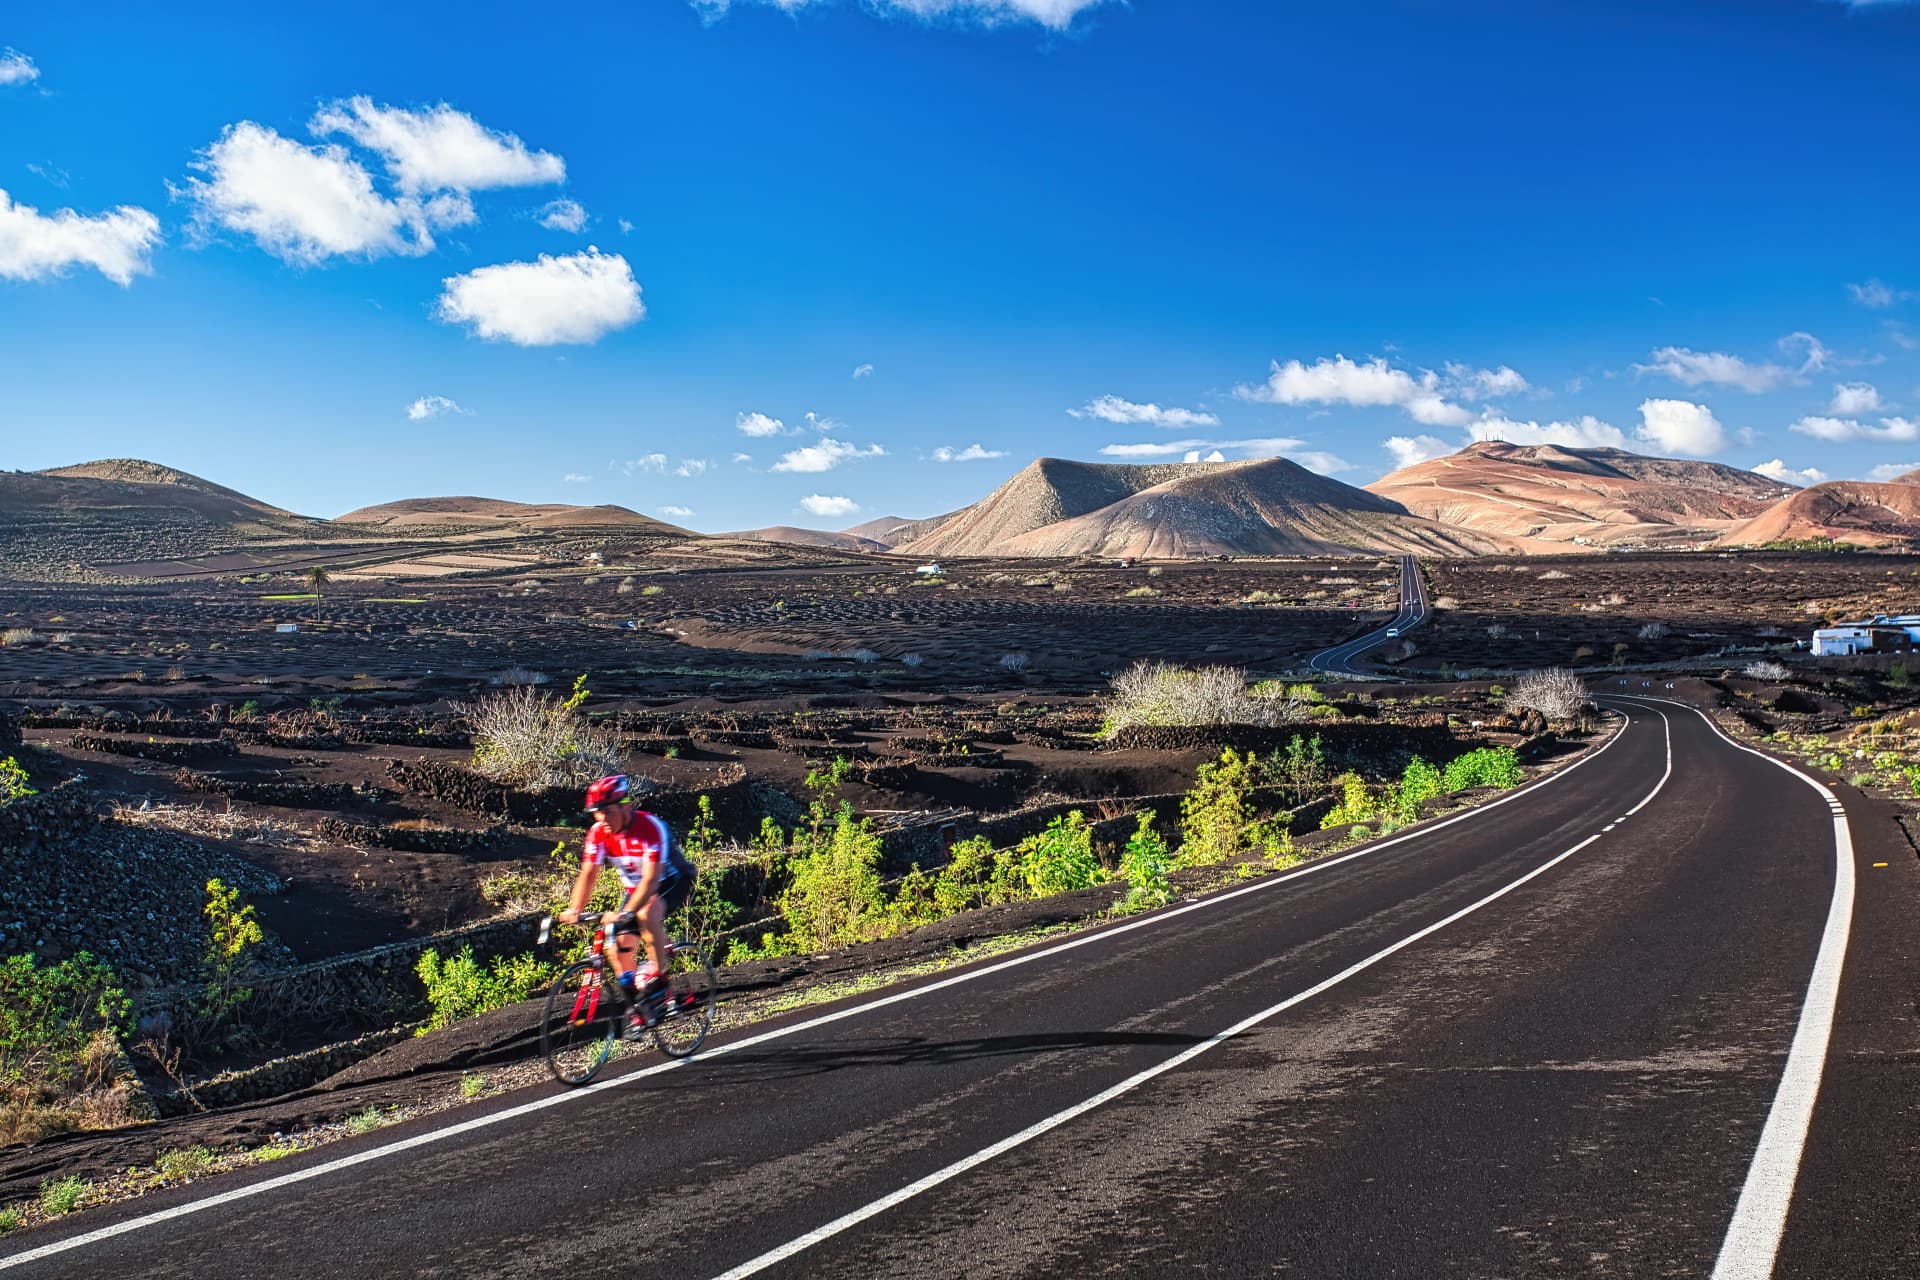
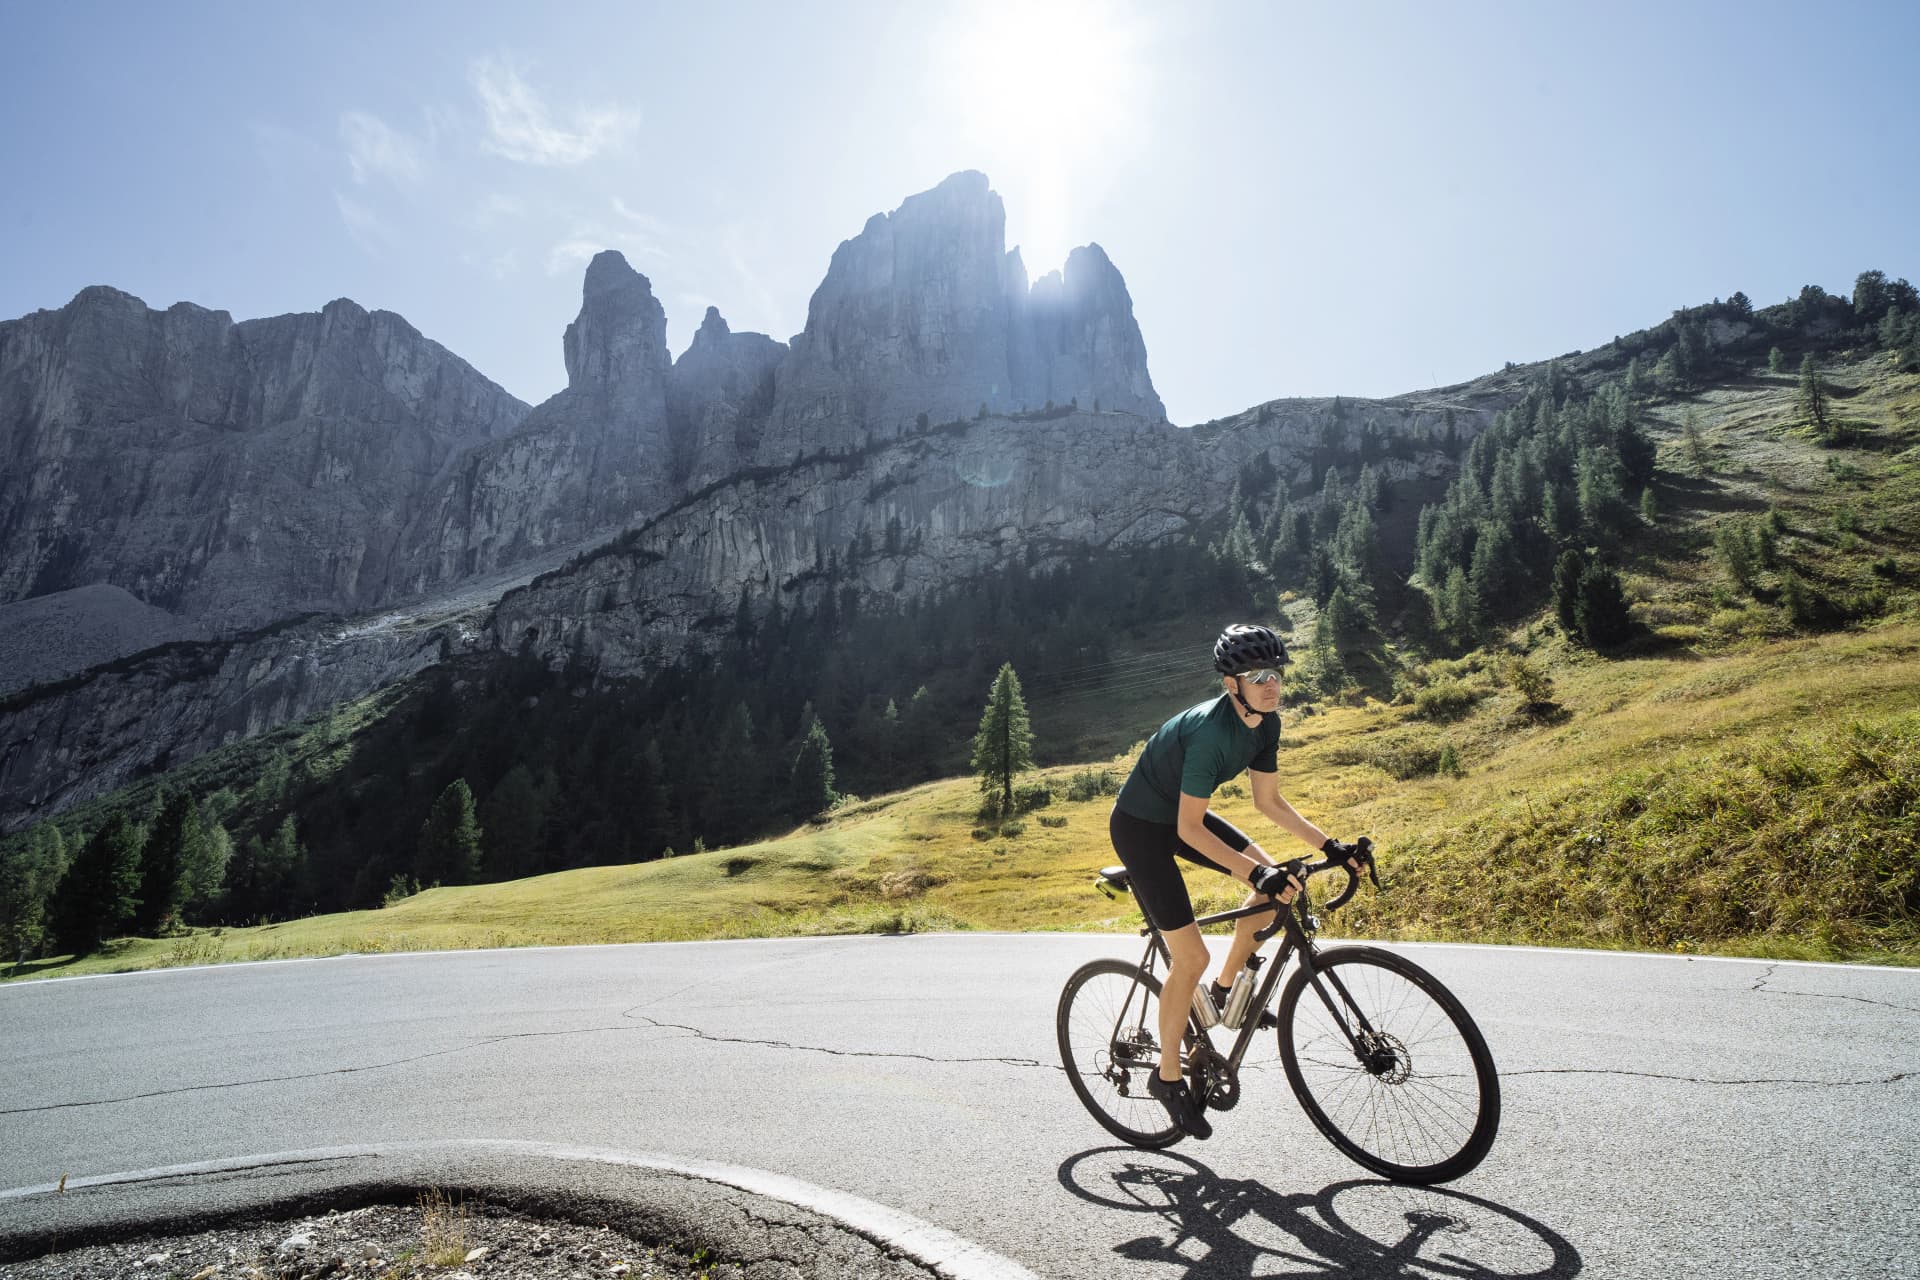
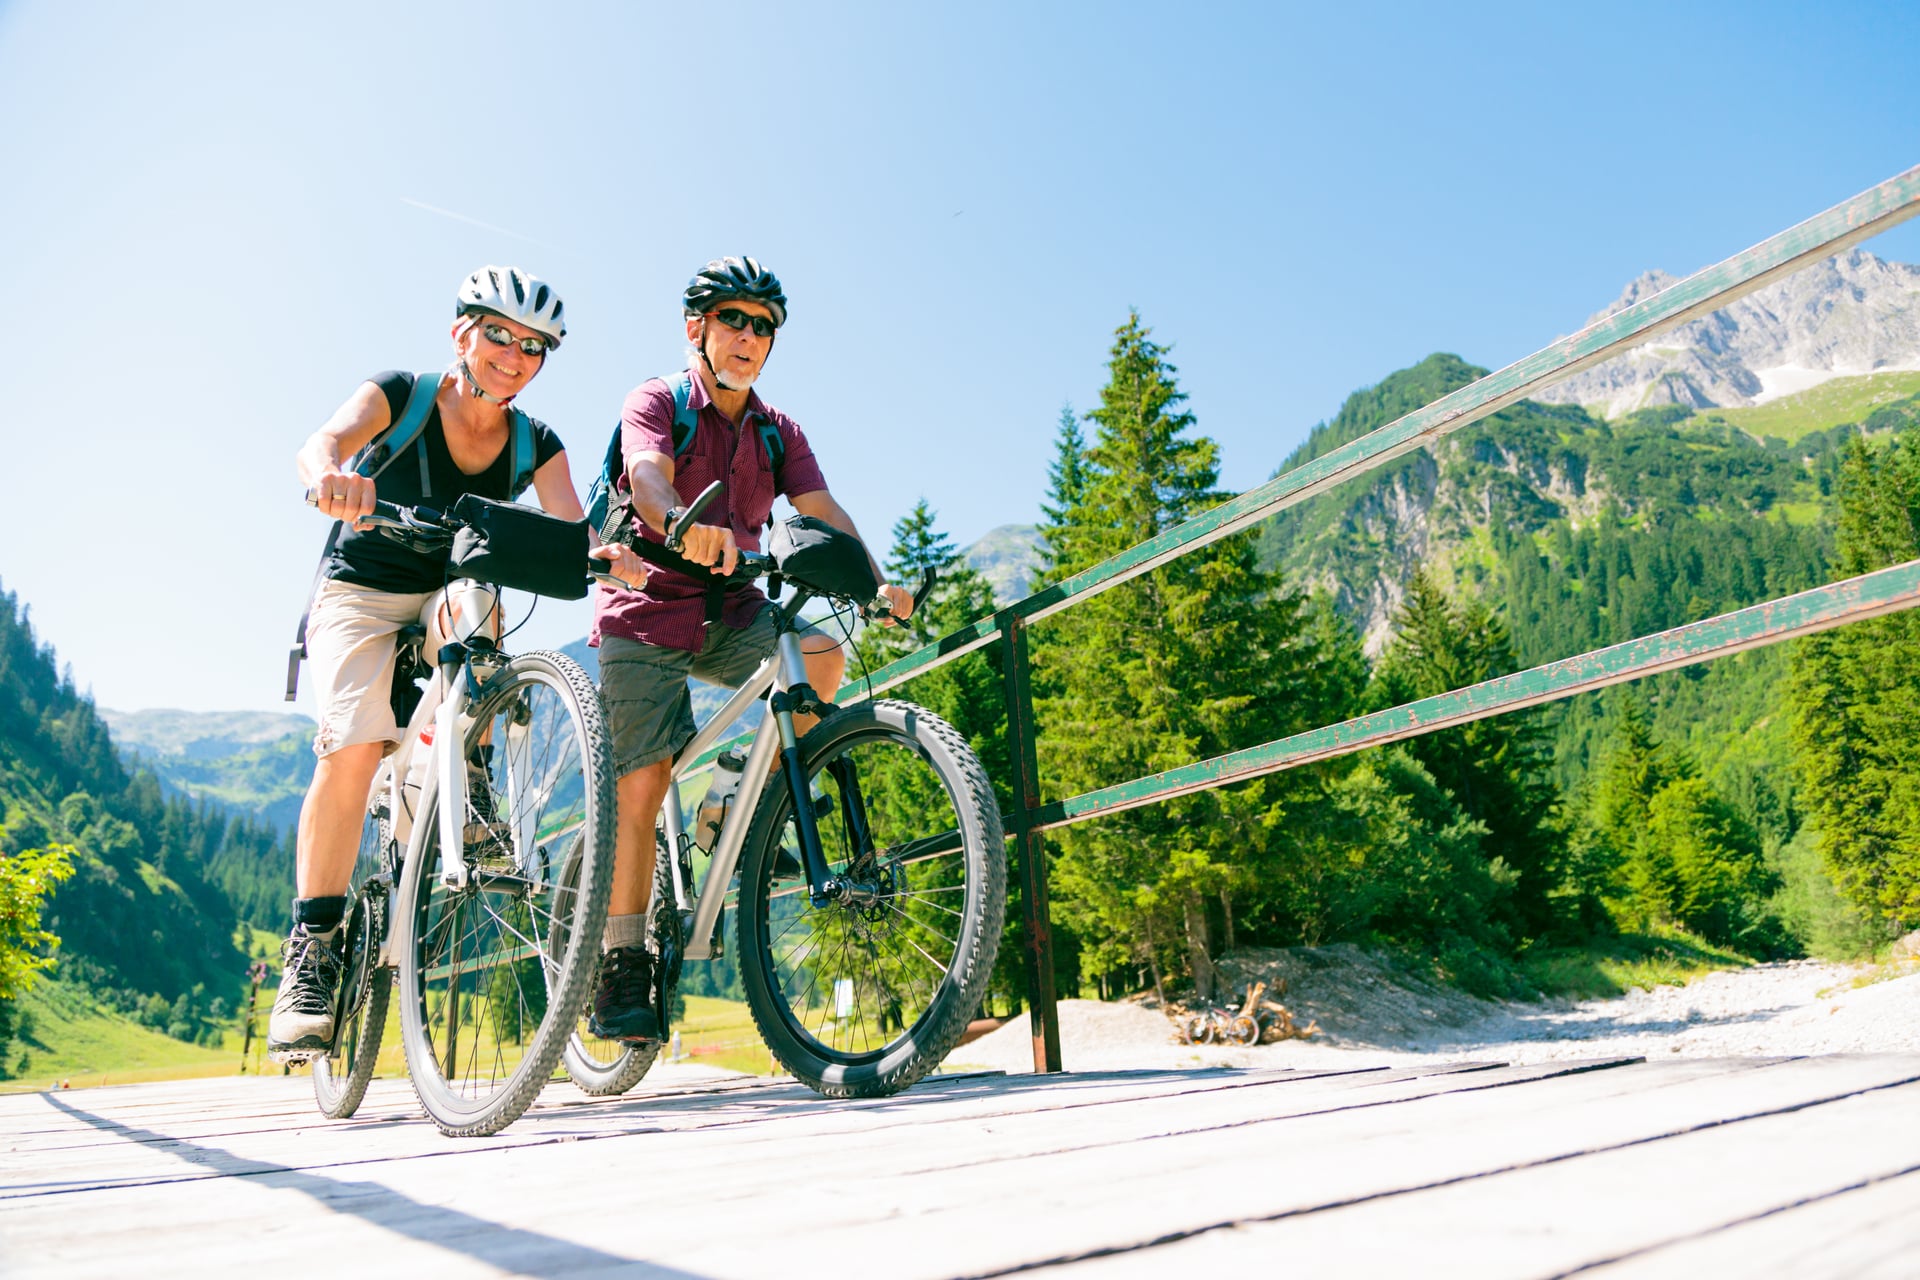
6. Put a Human in the Landscape
A photo of a beautiful valley is nice. A photo of a beautiful valley with a tiny cyclist on a winding road is incredible.
People give a landscape scale, story, and emotion. Suddenly, the viewer isn't just looking at scenery — they're imagining being there. Ask a riding partner to go ahead (or fall behind) and shoot them from a distance as they ride into the scene.
7. Use Your Bike as a Prop
Your bike is the most photogenic object you have with you. Use it.
Lean it against a stone wall in a village. Park it in front of a viewpoint. Lay it beside a wildflower meadow. Frame it in an old doorway. A well-placed bike instantly tells a story — someone rode here — and adds character to what would otherwise be a standard landscape shot.
Quick tip from the pros: point the drive side (the chain side) toward the camera. It just looks better. Nobody knows why, but it does.

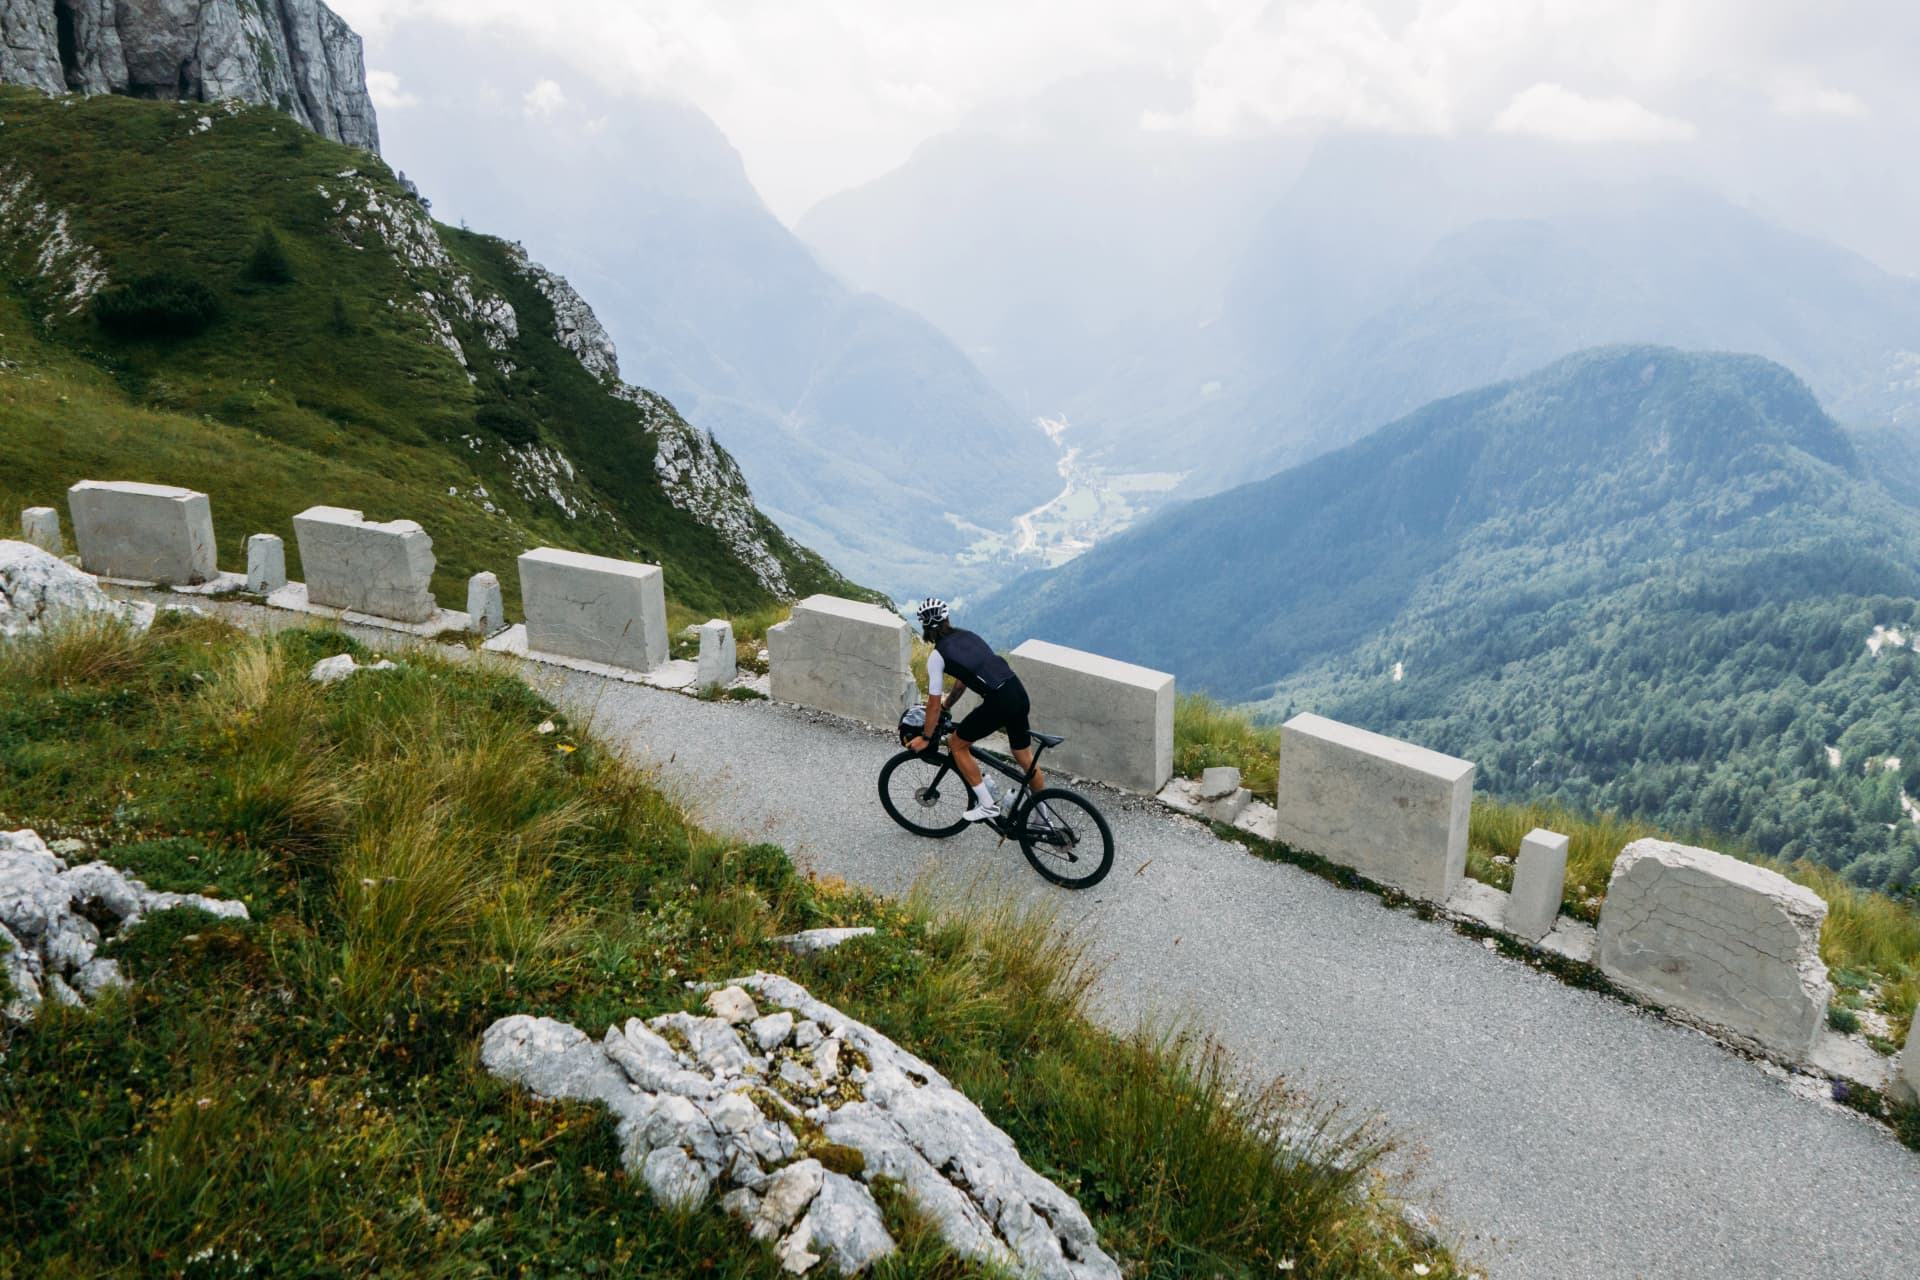
8. Get Low, Get Close, Get Different
The most boring angle in photography is the one at eye level.
That's how we see the world all day — so it never feels special in a photo.
Crouch down and shoot upward to make a hill look more dramatic. Get close to a detail — a hand on the handlebars, a wheel on a cobblestone road, water droplets on the frame after rain. Shoot from the ground with the bike towering above you and the sky behind it.
The weird angles are usually the best ones.
Try it: Get low on a cobbled Flemish road and shoot a rider approaching — it'll look like a scene from the Tour of Flanders. Close-up of a wheel rolling over an ancient Roman bridge in southern France. A handlebar-level shot along a bike path through the German Black Forest.
9. Use Burst Mode for Action Shots
If your riding partner is moving, don't try to time one perfect shot. Hold down the shutter button and let your phone take a rapid burst of photos. Pick the best one later.
This works especially well for someone cresting a hill, riding through a puddle, rounding a curve, or crossing a bridge.
Twenty shots in two seconds — one of them will be the one.
.png&w=1920&q=85)
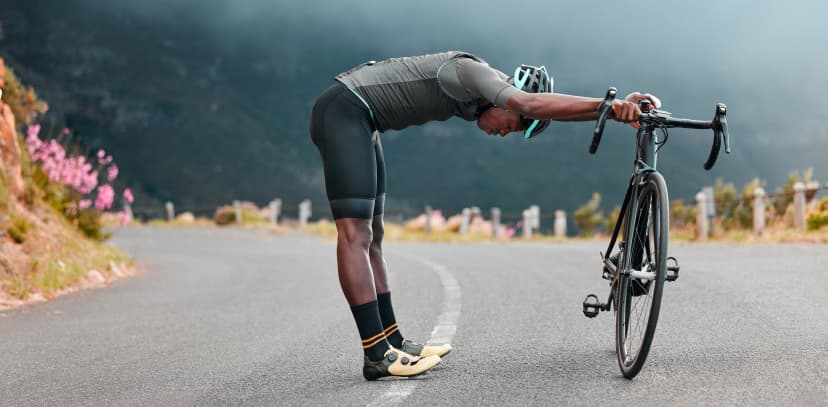
10. Stop. Actually Stop.
This is the most important tip on the list. You cannot take a good photo while riding. You'll get a blurry, crooked image and risk dropping your phone — or worse, crashing.
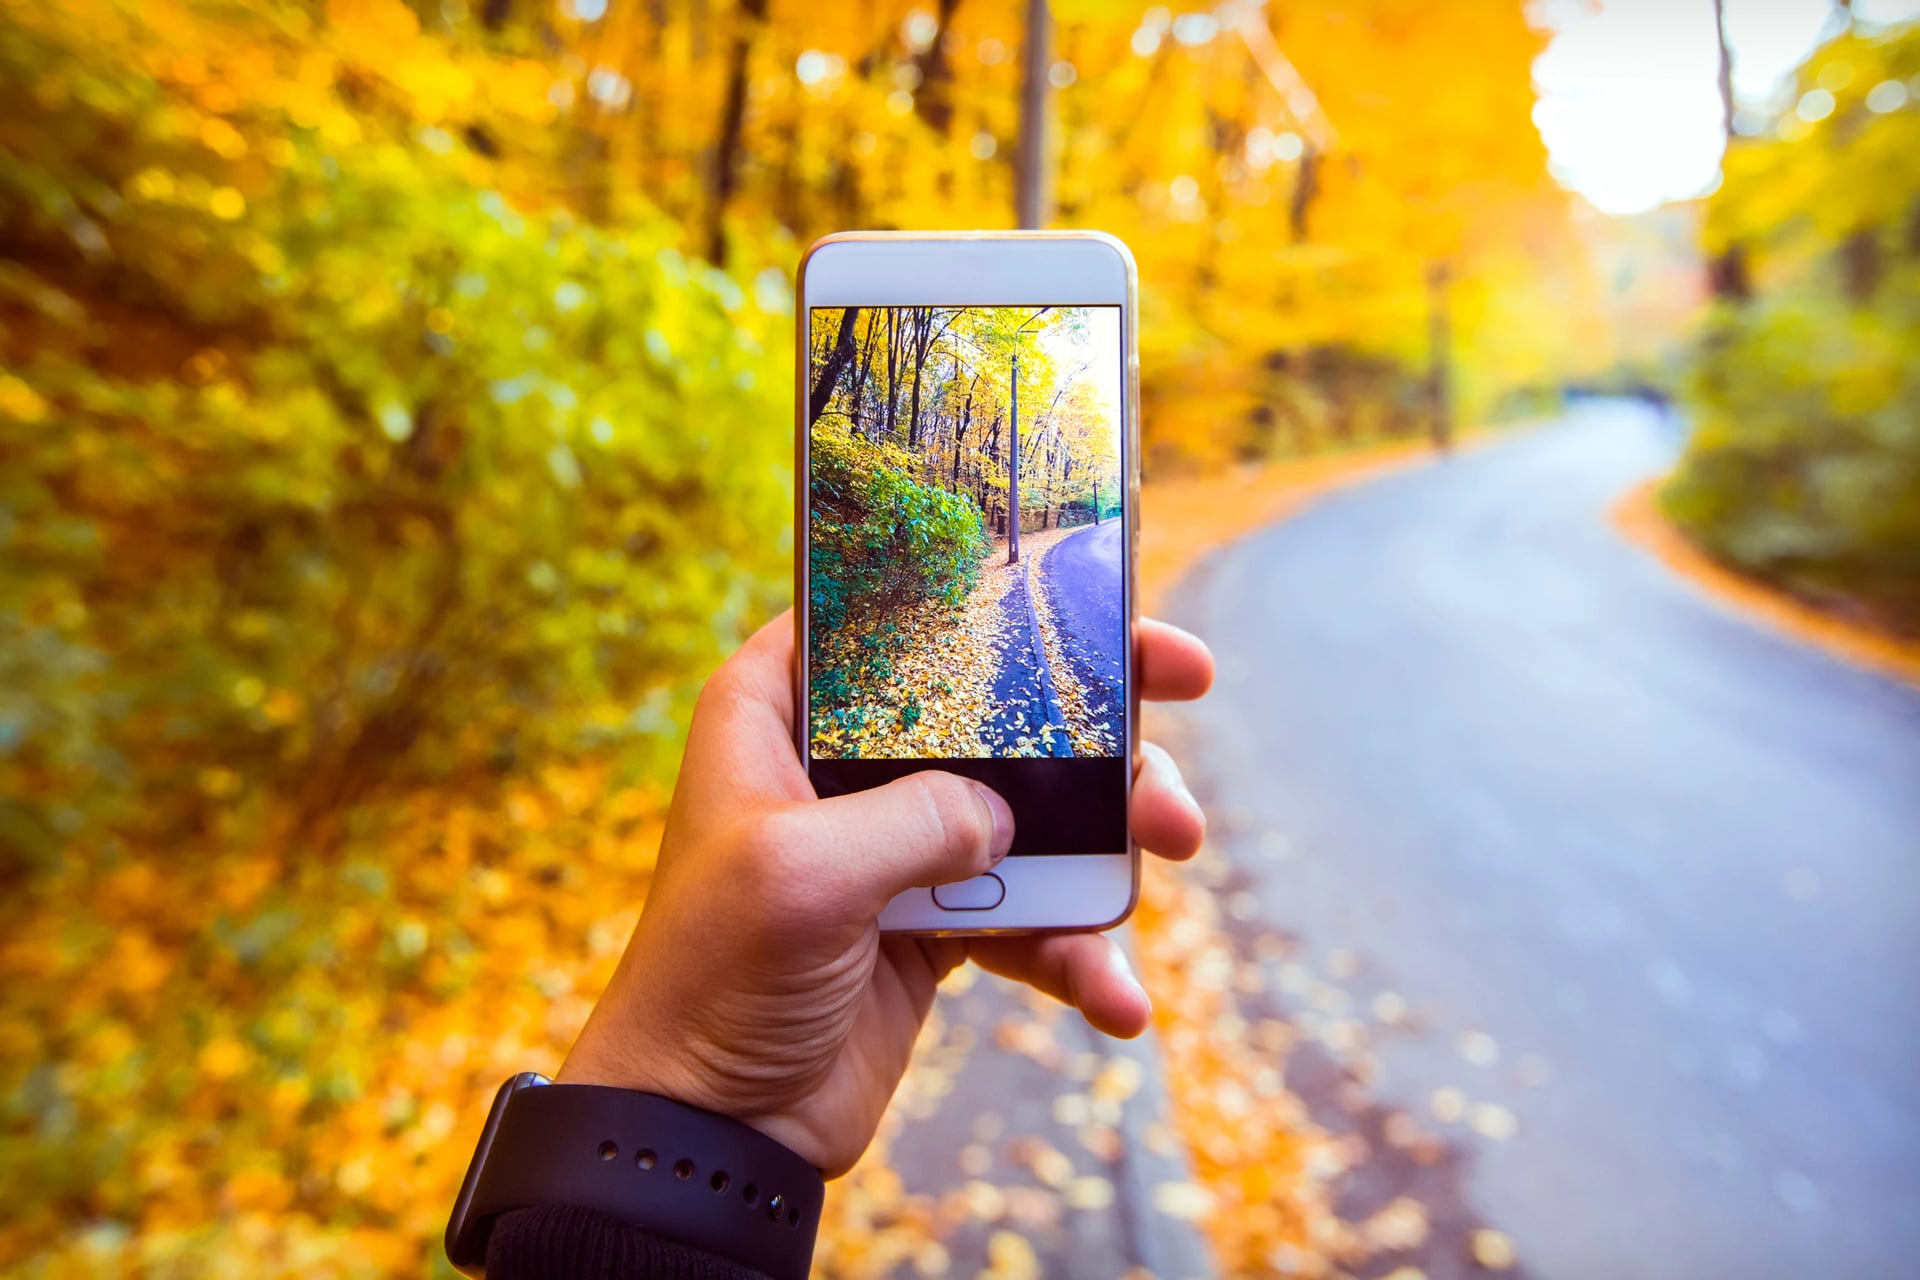
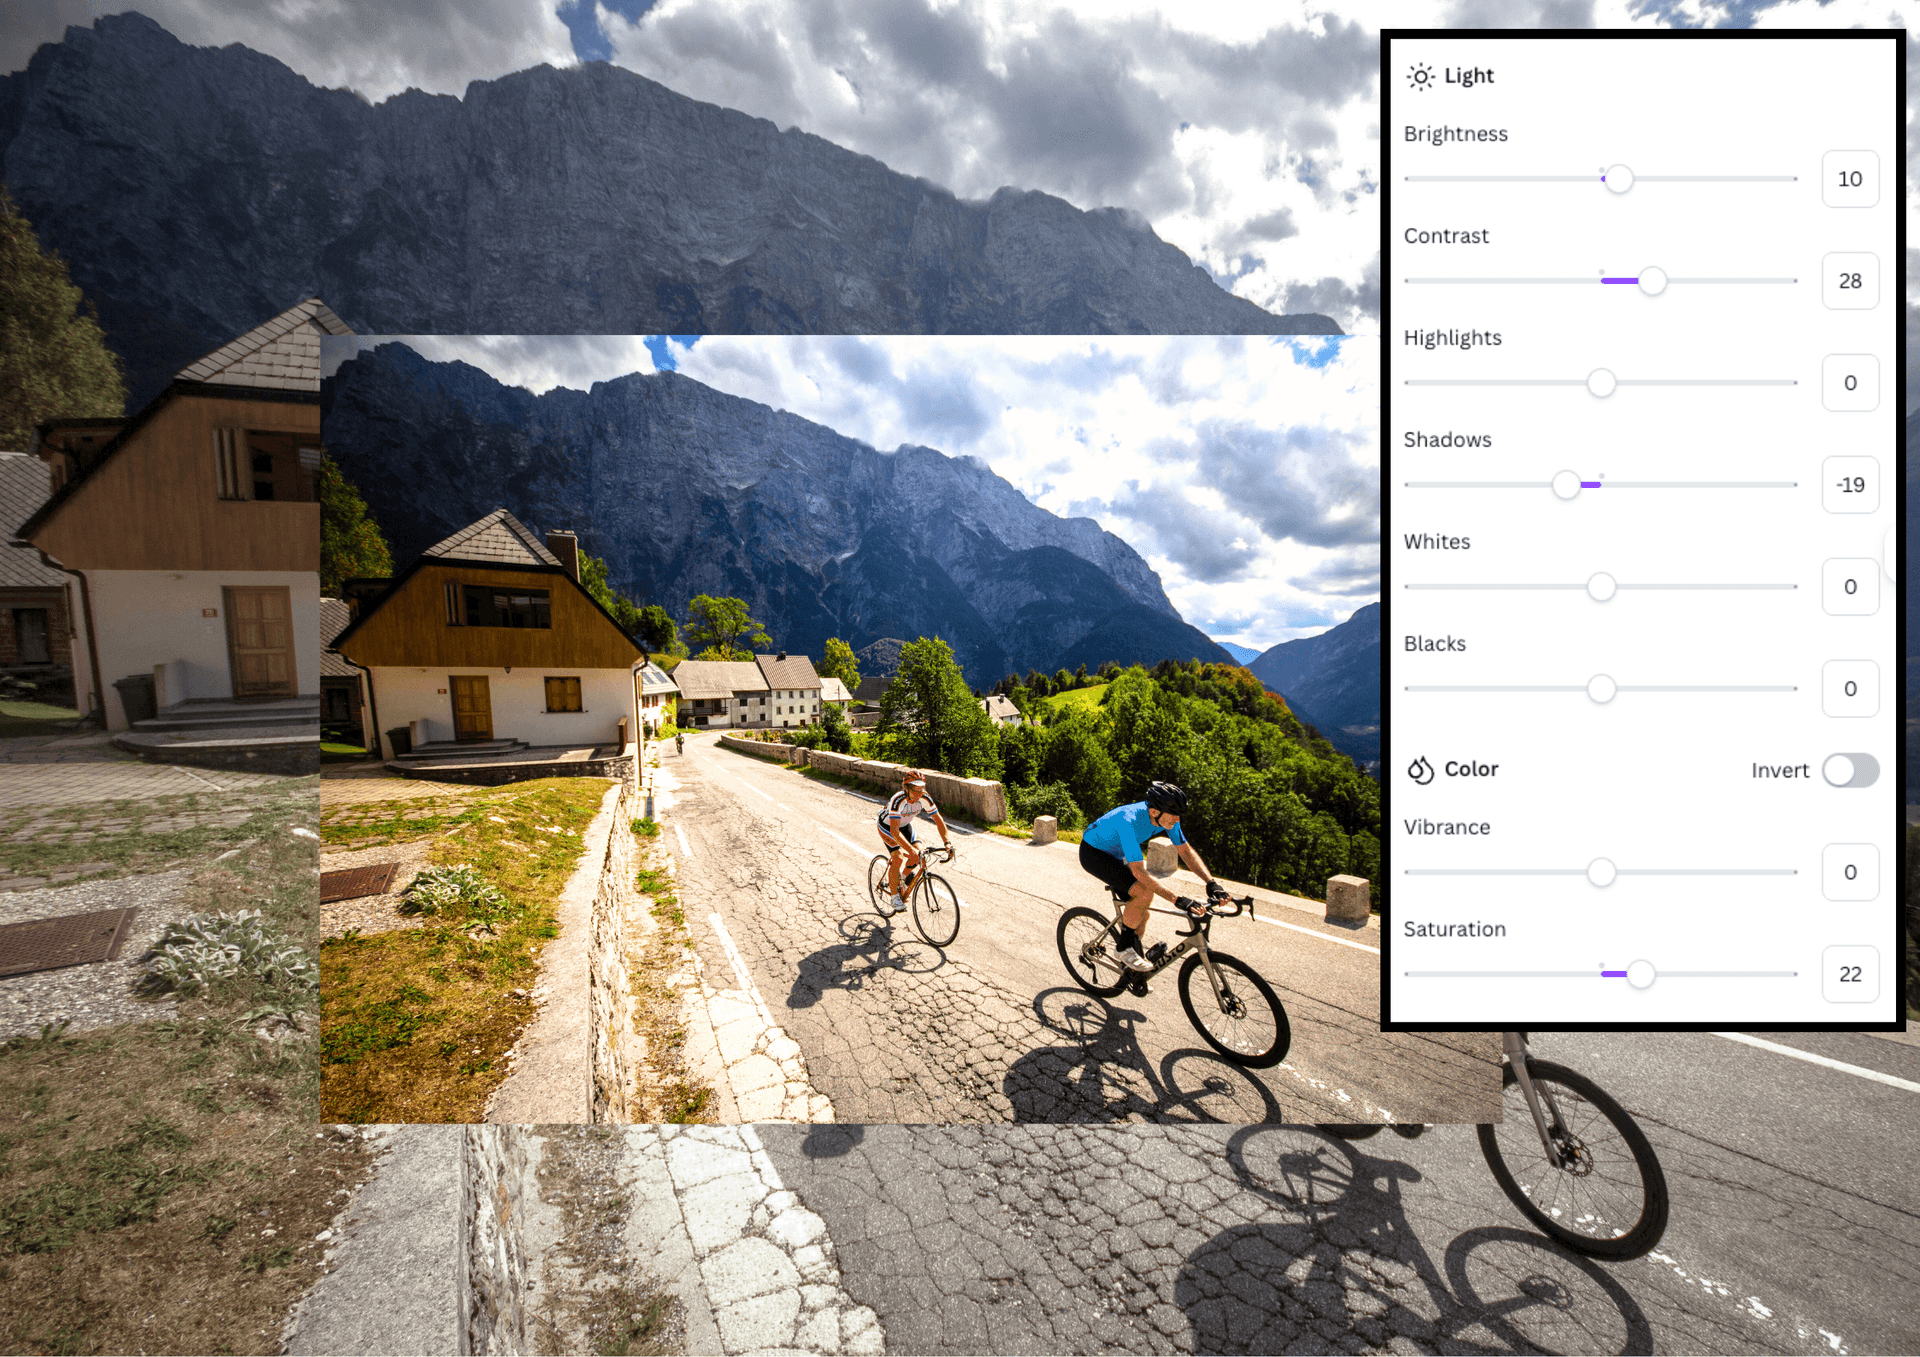
11. Edit (Just a Little)
You don't need professional software. Your phone's built-in editor can do wonders in 30 seconds:
Straighten the horizon.
Bump up the contrast slightly.
Crop out distractions.
Brighten the shadows.
That's it. Four quick adjustments. Don't overdo the filters — the goal is to make the photo look like what you actually saw, just a little better.
If you want a free app that does all of this brilliantly, try Snapseed (iPhone and Android).
12. Take Many, Share Few
Professional photographers take hundreds of photos and share a handful. You should do the same.
Shoot five different angles of the same scene. Try with the bike in the frame and without. One with a person, one without. Then at the end of the day — maybe over a glass of local wine — go through them and keep only the best two or three.
The photos you delete are what make the remaining ones look great.
Don’t worry too much. The scenery will do its job. Your phone will do its job. You just need to meet them halfway — a clean lens, a straight horizon, and the willingness to stop for thirty seconds when something catches your eye.
The rides on our Cycling Holidays will be spectacular - which is already half of the job. These easy tricks above, will do the rest.
And hey, don’t forget to send us some epic shots you took!

About this author
Lan is our cycling manager and the obsessively organized planner you want in your support car — cool under pressure and always three turns ahead. When he's not mapping routes, he's enjoying his newest title: Dad.