Basic Bike Maintenance Checklist
Learn the essential ABC bike check, how to fix a flat, and simple riding tips that every cyclist should know — from beginners to seasoned riders.

Lan
Published February 19, 2026
Edited February 19, 2026
8 min read
Your bike doesn't need much — but it does need something.
A few minutes of attention before you ride can save you from:
flat tires,
squeaky brakes, and
that expensive crunch sound nobody wants to hear.
The ABC Quick Check — Do This Before Every Ride
You don't need to be a mechanic. You just need to remember three letters: A, B, and C.
This is the quickest, most effective habit you can build as a cyclist. It takes about 30 seconds and can prevent most common ride-ruining problems before they happen.
A — Air
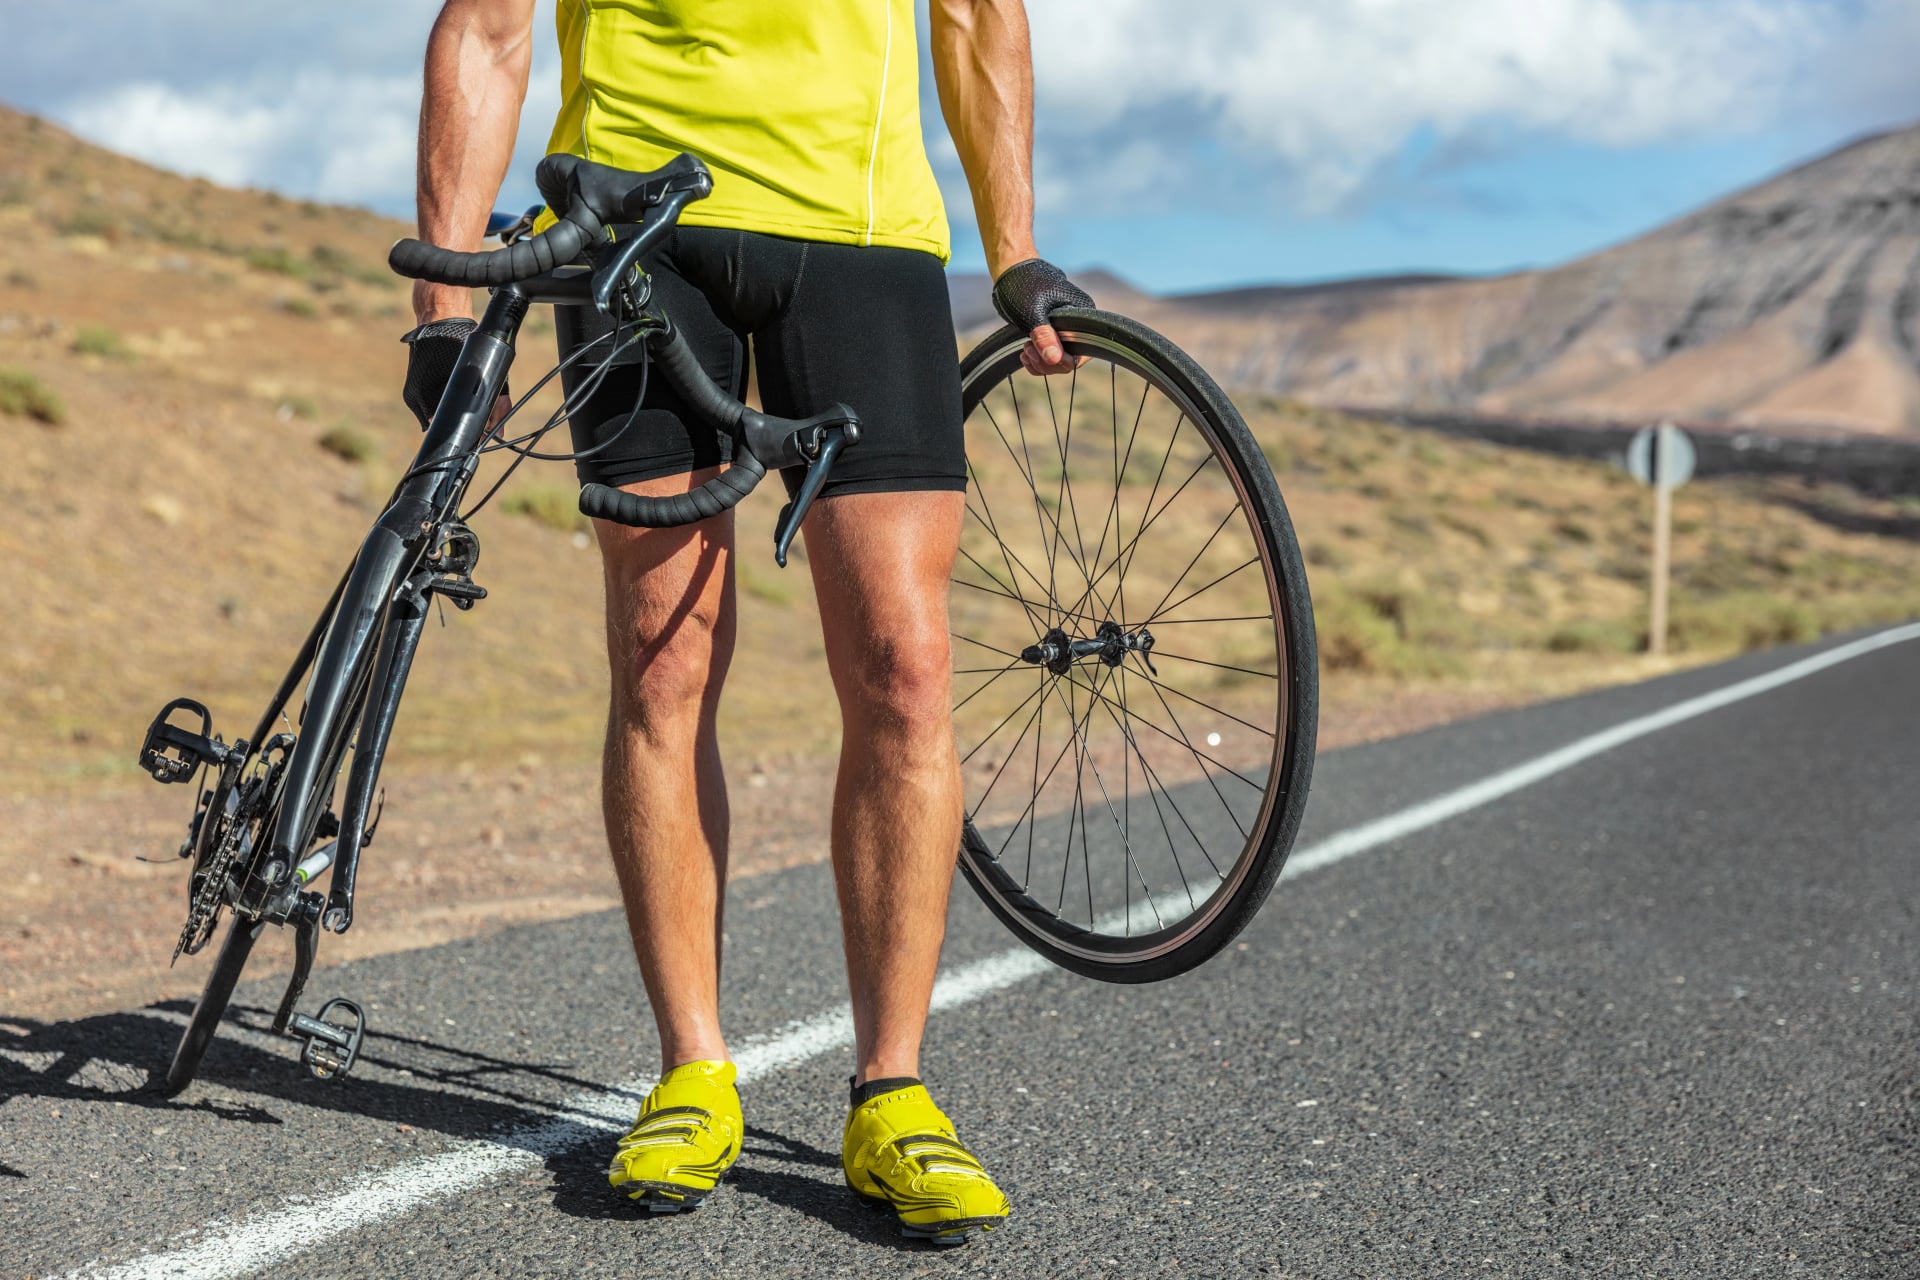
Squeeze your tires. If they feel soft, pump them up before you head out. It sounds almost too obvious, but low tire pressure is the number one reason first rides of the season end early — either with a pinch flat or with that sluggish, heavy feeling that makes every pedal stroke harder than it should be.
Check the sidewall of your tire — the recommended pressure range is printed right there.
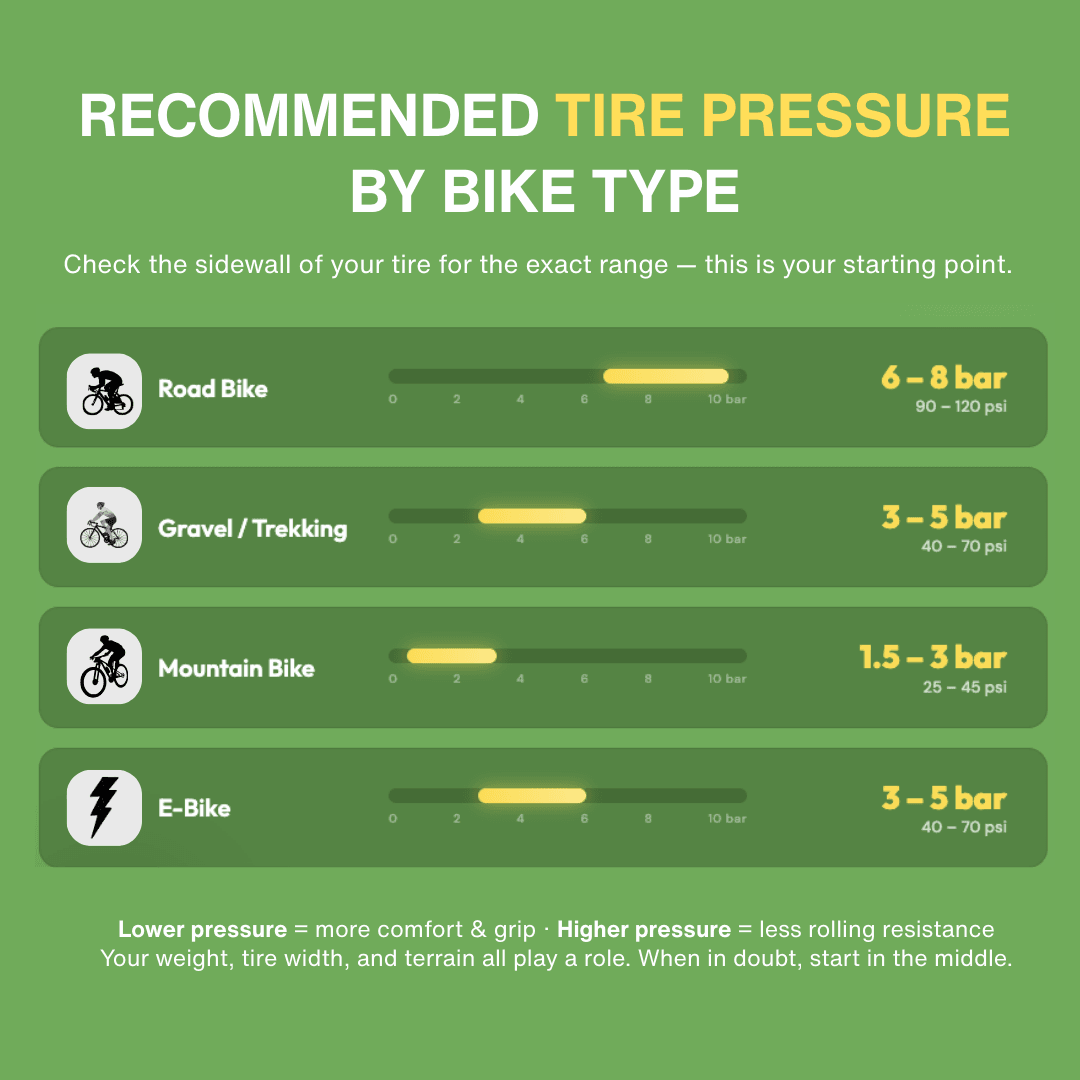
Here's a rough guide to get you started:
Road bikes: 6–8 bar (90–120 psi)
Gravel and trekking bikes: 3–5 bar (40–70 psi)
Mountain bikes: 1.5–3 bar (25–45 psi)
E-bikes: varies, but usually around 3–5 bar — check your specific tire
These are ranges, not exact numbers, because the right pressure depends on you: your weight, tire width, and the terrain you're riding all play a role.
Lower pressure gives you more comfort and grip — great for gravel, trails, or rougher roads.
Higher pressure means less rolling resistance — better for smooth tarmac and speed.
If you're unsure, start in the middle of the range printed on your tire and adjust from there based on how it feels.
Running tubeless? Give your tire a shake and listen. Hear sloshing? Good — your sealant is still liquid and ready to do its job. Silence? It's dried out over the winter and needs to be replaced before it can seal anything. Don't skip this one — dried-out sealant is basically decorative.
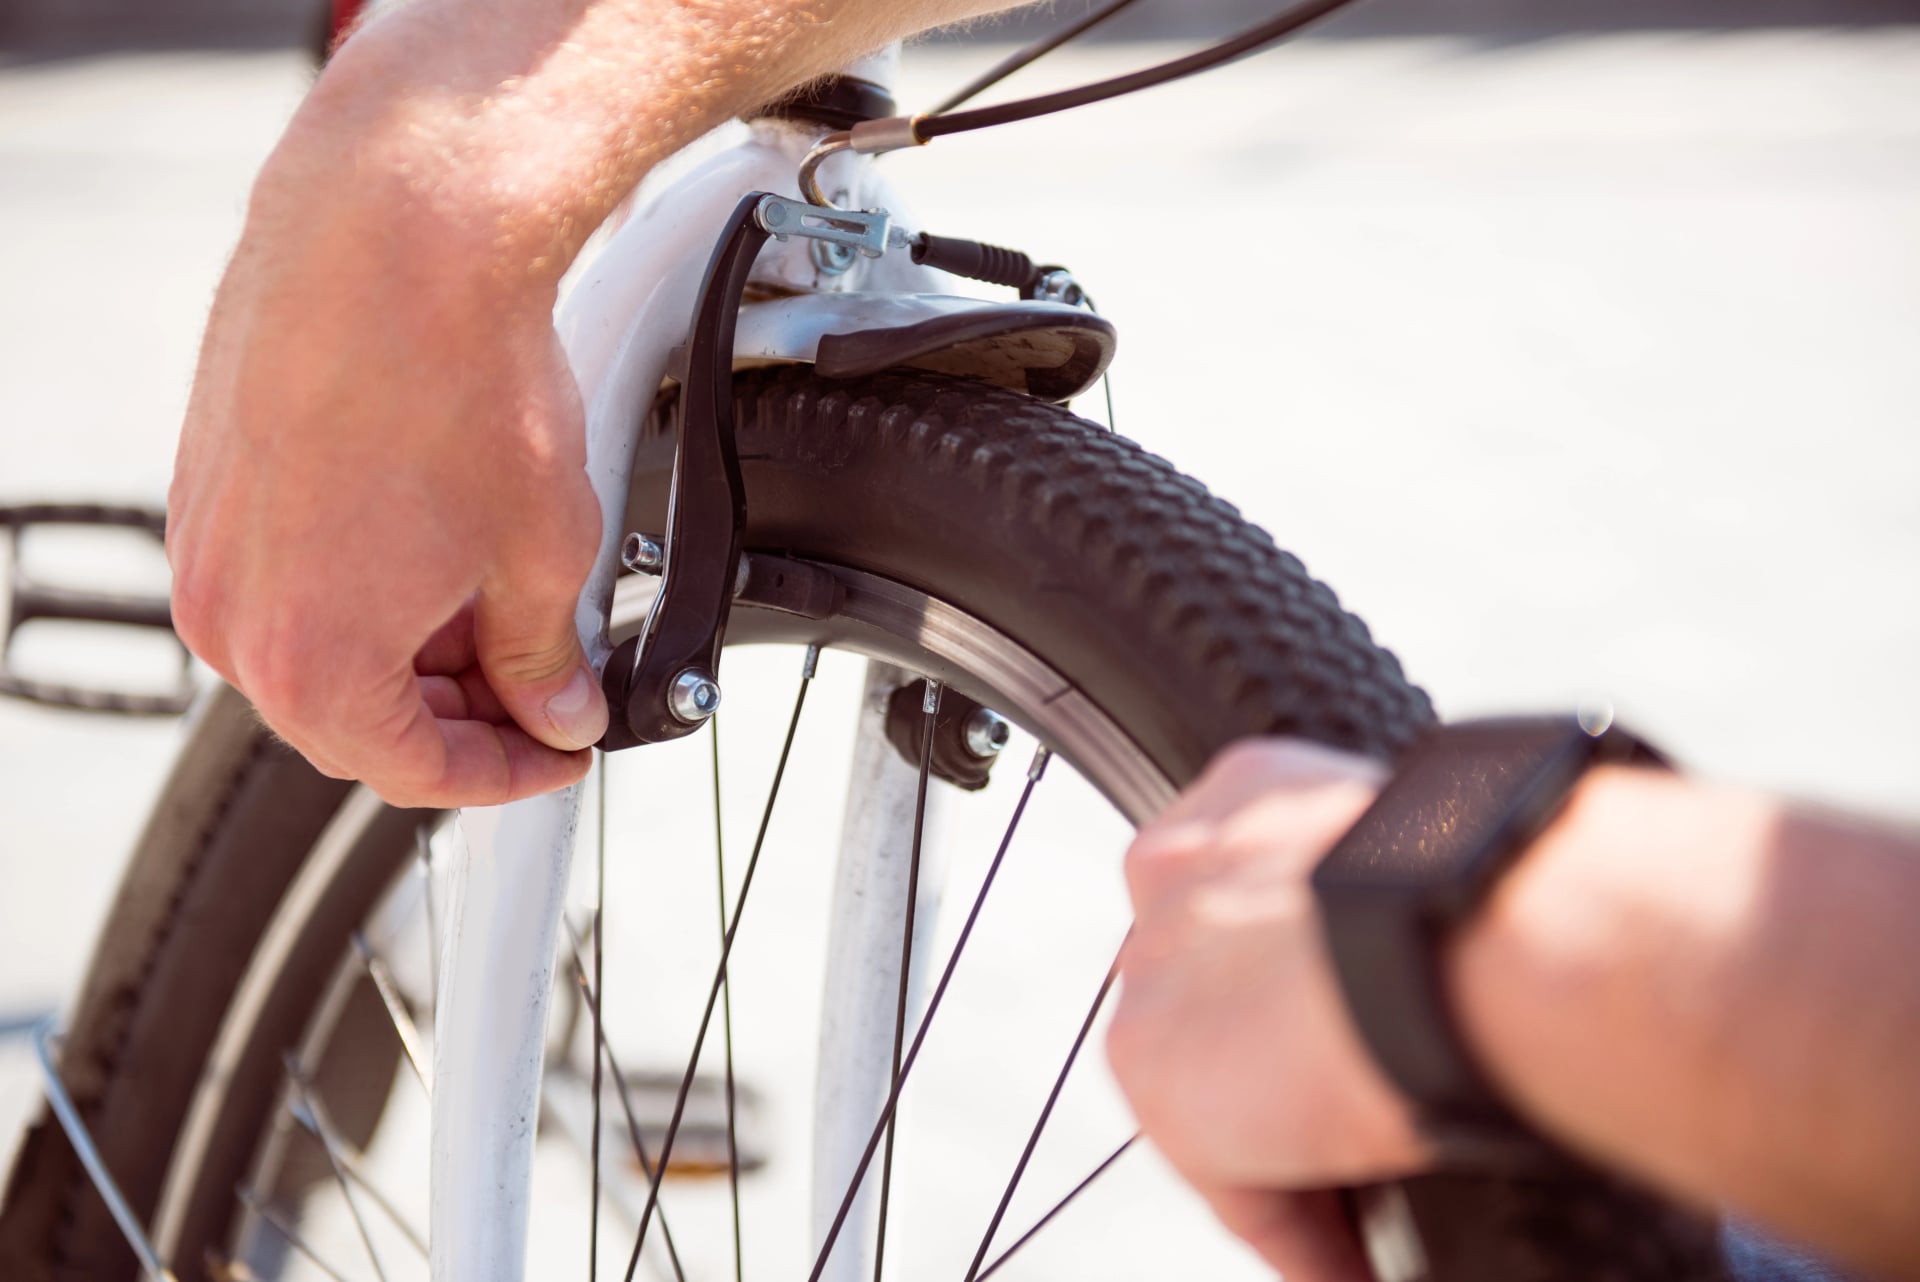
B — Brakes
Squeeze each brake lever. Does the wheel actually stop? Good start. Now pay attention to how the lever feels. Does it feel firm and responsive, or does it pull all the way to the handlebar? If it feels spongy or travels too far, something needs attention — worn pads, air in the hydraulic lines, or stretched cables.
Take a quick look at the brake pads themselves:
Disc brake pads: there should be visible pad material beyond the metal backing plate. If the pad is thin or you mostly see metal, it's time for new pads.
Rim brake pads: they shouldn't look shiny or glazed. If they do, they've hardened over the winter and won't grip the rim properly. They're cheap and easy to replace.
If anything feels off with your brakes, don't ride first and fix later. Your brakes are the single most important safety feature on your bike. A quick visit to your local bike shop will sort it out.
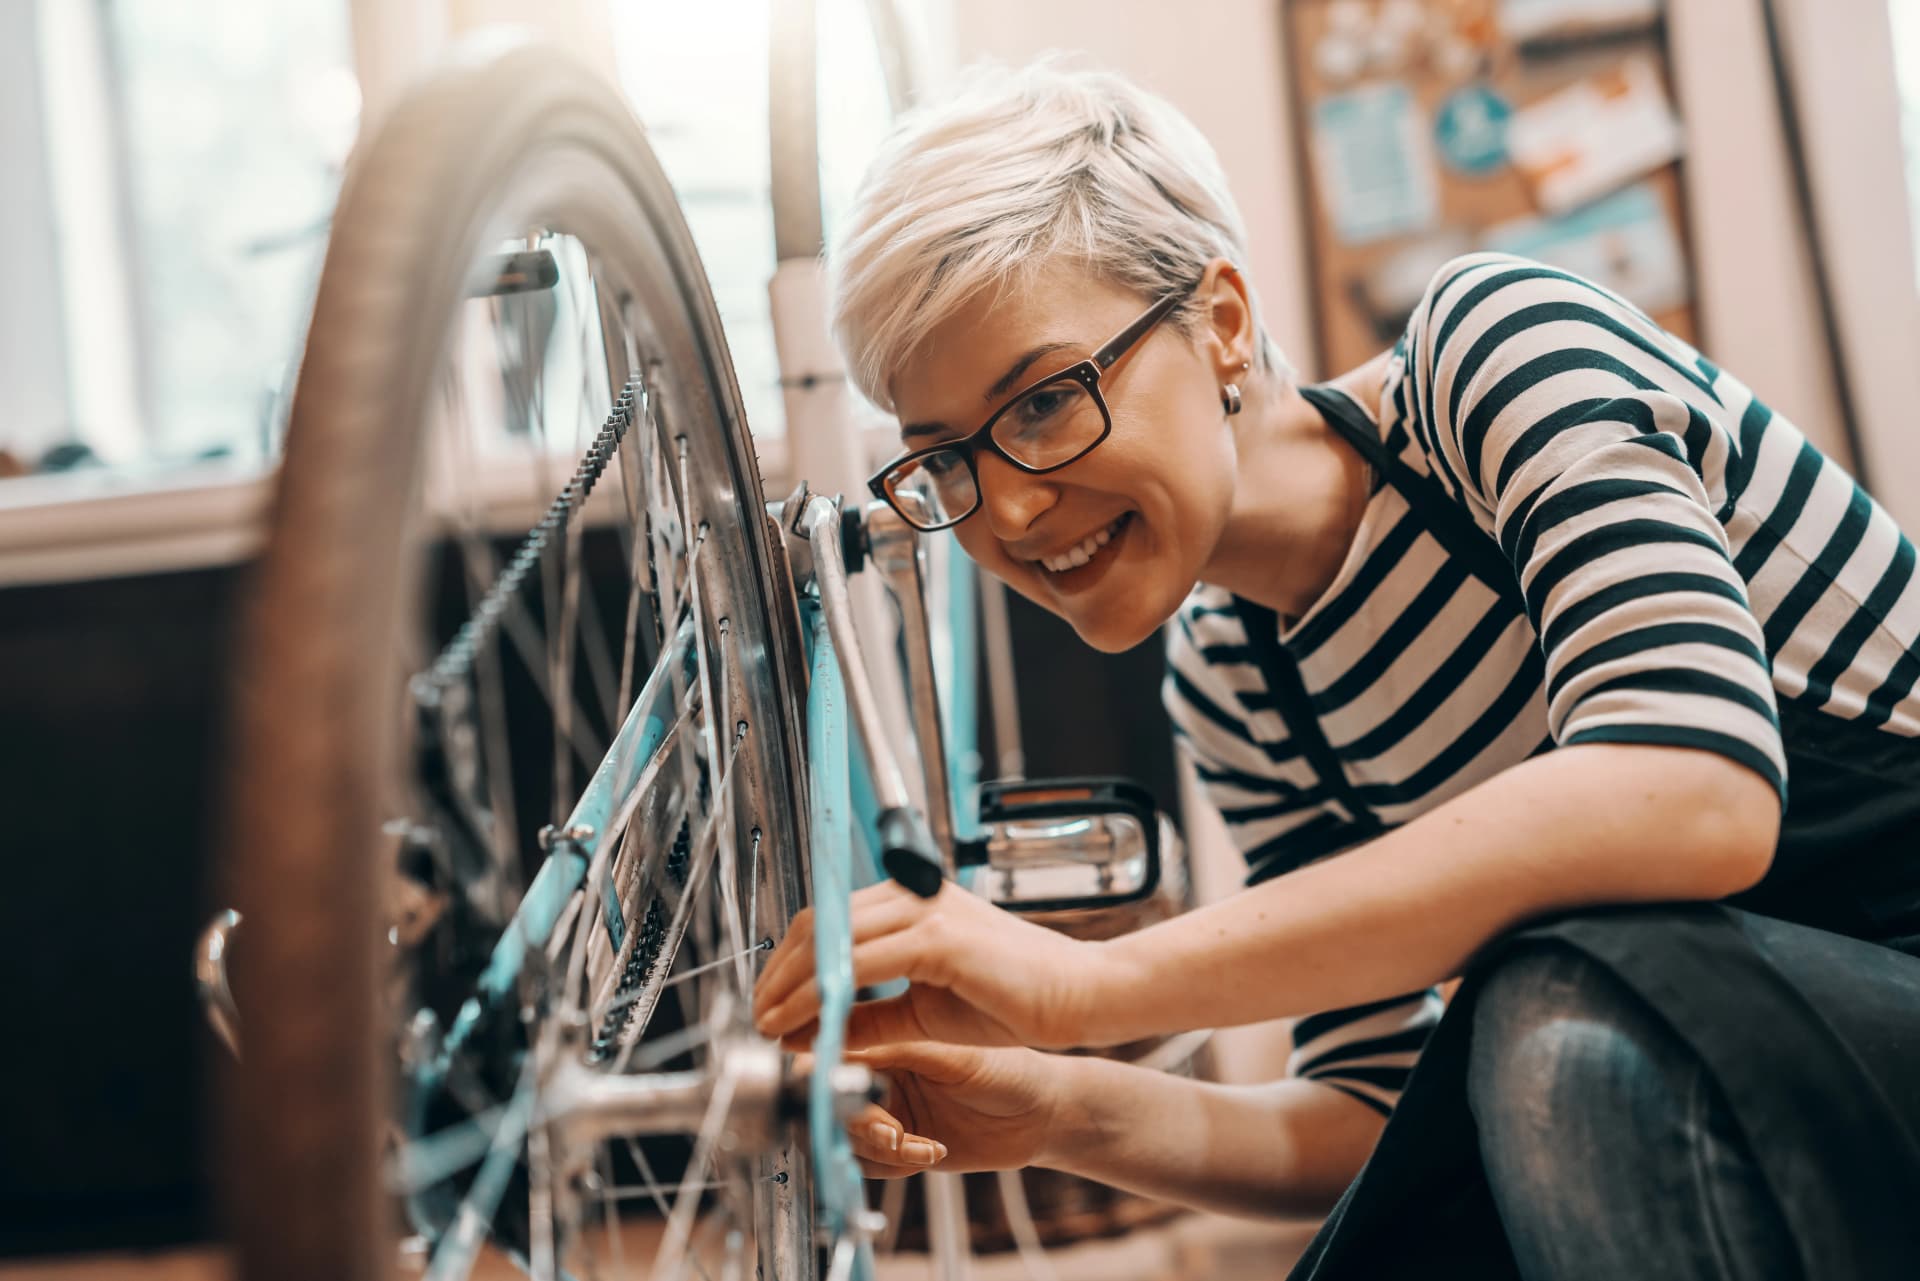
C — Chain
Your chain is the hardest-working part of your bike — and often the most neglected. It transfers every bit of your pedalling power to the wheels, and it does it under constant stress and exposure to the elements.
Give it a look. Is it reasonably clean, or is it caked in last autumn's grime? A dirty, dry chain doesn't just feel rough — it wears out faster, and it takes your cassette and chainrings down with it. Those are the expensive components.
Here's the quick version:
Clean it. Run the chain through a rag to remove the worst of the grime. If it's really bad, use a degreaser.
Lube it. Apply fresh chain lube — a drop on each roller, then wipe off the excess. More lube is not better. Excess lube attracts dirt, which causes more wear. A thin, clean film is what you want.
Check for wear. If you want bonus points (and to save real money), check your chain with a chain wear checker tool. If it's stretched past 0.75%, replace it. A new chain costs around €15–25. Waiting too long can mean replacing the cassette and chainrings too — easily €100–200+. A cheap tool now can save you a lot later.
.png&w=1920&q=85)
A low-tech method: try to lift the chain off the front chainring. If you can see daylight under three or more teeth, the chain is getting worn. Time for a closer look or a trip to the shop.
The bikes we provide on our cycling holidays around Europe are professionally maintained before, during, and after every season — so you can skip the wrench work and focus on the riding. But knowing the ABC check is still a great habit for any cyclist, wherever you ride.
How to Fix a Flat Tire
It will happen. Maybe not on your first ride, maybe not on your tenth. But at some point, you'll hear that unmistakable hiss — and if you're 30 km from home on a quiet country road, knowing how to change a tube is the difference between a 10-minute stop and a very long walk.
The good news? It's genuinely easier than it looks. Here's the basic process:
Remove the wheel. Know whether your bike uses a quick-release lever or a thru-axle, and practise opening it at home so it's not a mystery on the road.
Pop one side of the tire off the rim using tire levers. You usually only need to unseat one side — don't remove the tire completely.
Pull out the old tube. Inflate it slightly and listen or feel for where the air is escaping. This tells you what happened.
Check inside the tire. Run your fingers carefully along the inside and find whatever caused the puncture — a thorn, piece of glass, tiny wire. If you don't remove it, your new tube will puncture in the same spot. Don't skip this step!
Put in the new tube. Inflate it just enough to give it shape, tuck it neatly into the tire, reseat the tire bead onto the rim, and pump up to the correct pressure.
Our best advice? Practise this once at home. Put on some music, make a coffee, and go through the steps without any pressure (pun intended). When you've done it once in your garage, it's so much less stressful when it happens for real on the road.
For a clear, step-by-step visual walkthrough, check out this video — it's might be easier to follow along than reading instructions.
Running tubeless? Your sealant handles most small punctures automatically — you might not even notice them. But when tubeless fails, it tends to fail dramatically. Carry a tubeless plug kit for medium punctures, and keep a spare tube in your bag as the ultimate backup for when things really go sideways.
What to Always Carry With You
Speaking of being prepared — before your first ride, dump out your saddle bag and take stock. You'd be surprised what people find in there after a winter off. Start fresh and pack the essentials:
Spare inner tube (make sure it's the right size and valve type for your wheels!)
Tire levers
Mini pump or CO2 inflator
Multi-tool
Chain quick-link
A tubeless plug kit (if you're running tubeless)
A bit of cash or a card — cafés don't accept good intentions
Your phone, fully charged

Planning to take one of our cycling tours? All our rental bikes come equipped with a small saddle bag that includes everything you need for common roadside fixes. And if something bigger comes up, we're available at all times and happy to arrange a swap of the bike, support van to pick you up, or help you get back on the road. You're never on your own.
Planning a longer trip this season? Check out our guide on how to train for a multi-day cycling holiday → to make sure your body is as ready as your bike.
Ready to Ride
That's it. No professional tools required, no weekend-long workshop. Just a few minutes of attention, a pump, some lube, and a quick once-over — and your bike goes from winter-weary to season-ready.
And if your legs are itching for something bigger this season — a week exploring Tuscany, island-hopping in Croatia, or climbing Alpine passes — have a look at our cycling tours across Europe.
We'll take care of the logistics, luggage transfers, and yes - including well-maintained bikes.
See you out there. ☀️🚲
About this author
Lan is our cycling manager and the obsessively organized planner you want in your support car — cool under pressure and always three turns ahead. When he's not mapping routes, he's enjoying his newest title: Dad.